15. Wildcard Sewing
Reflection
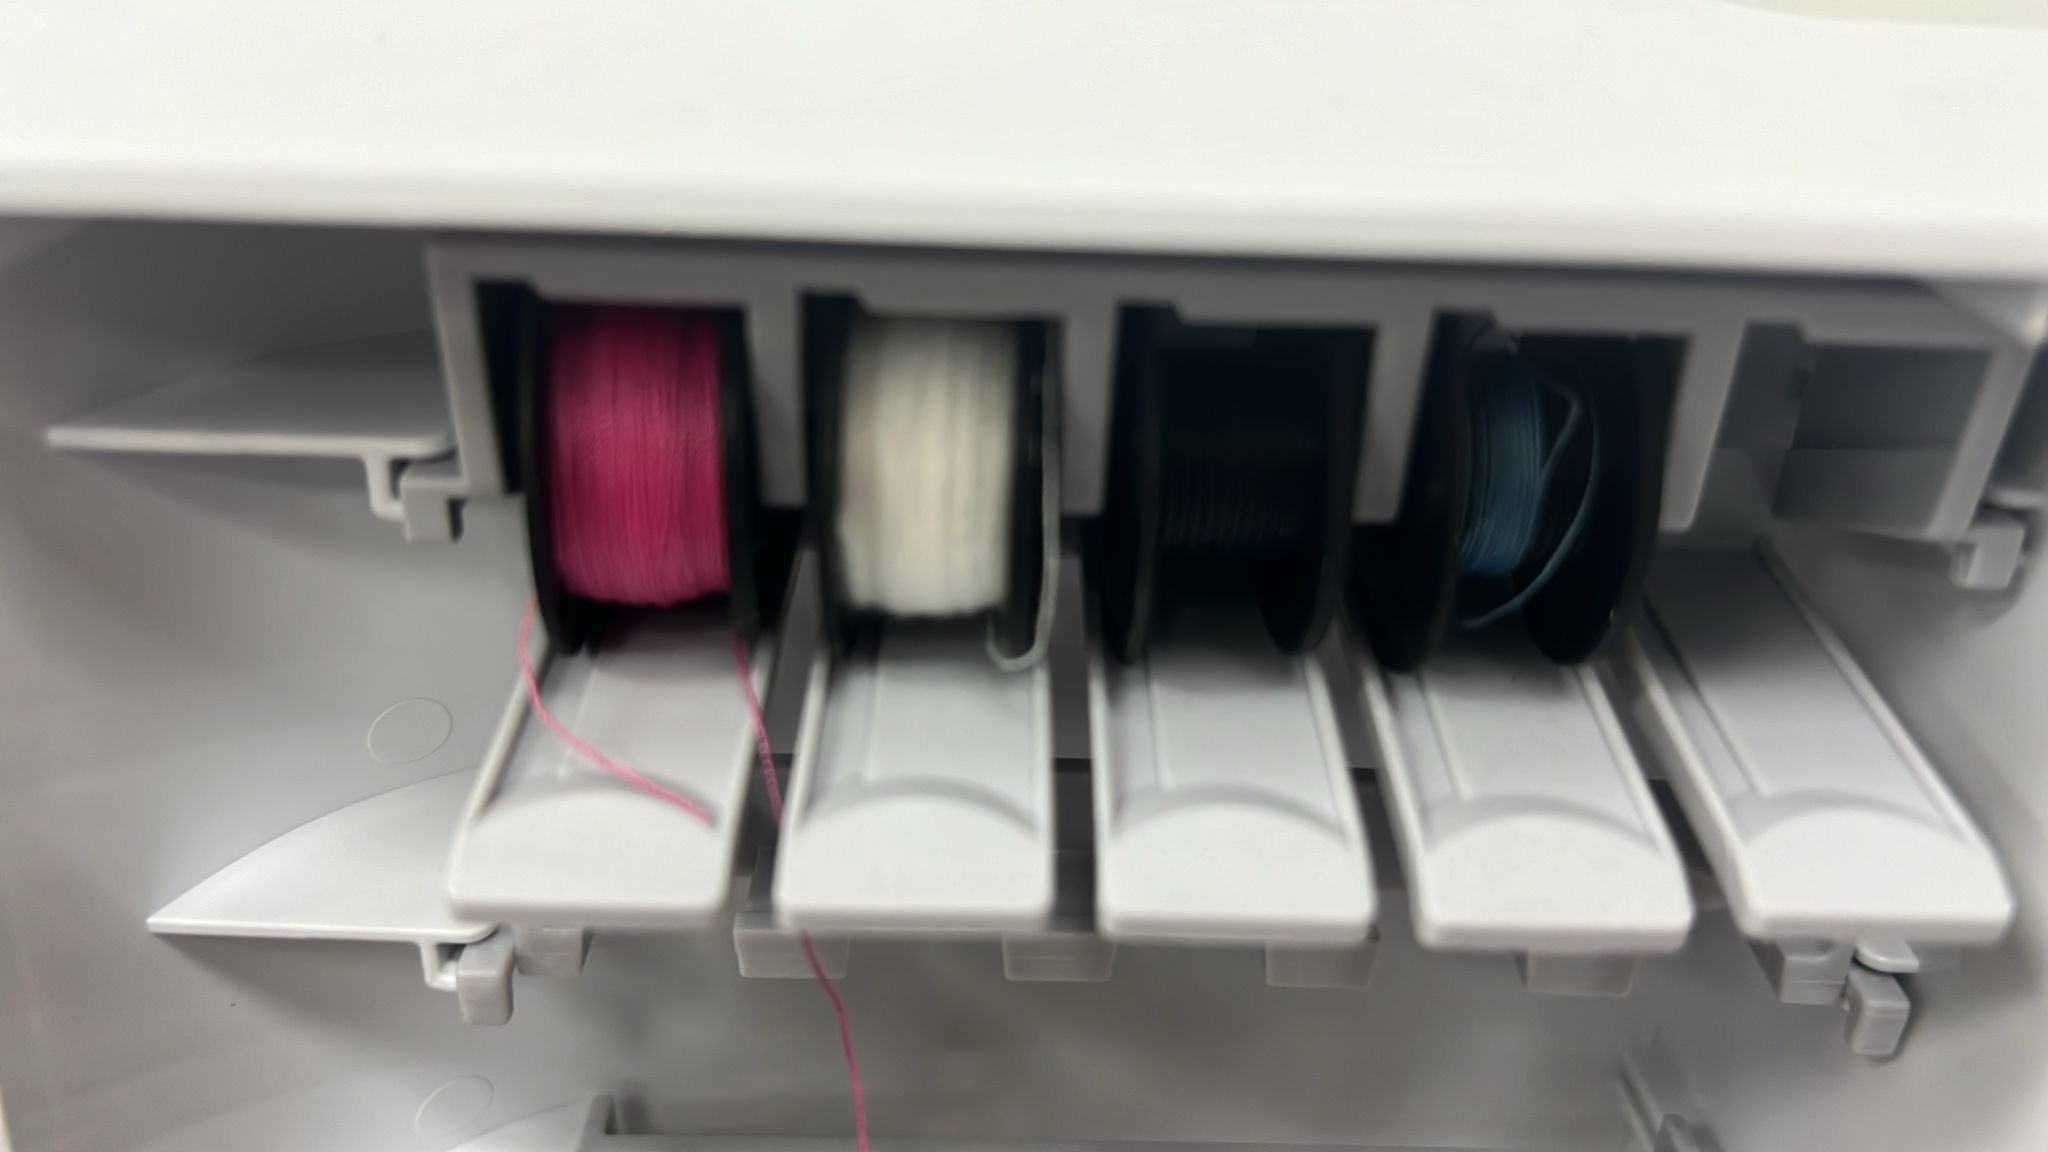
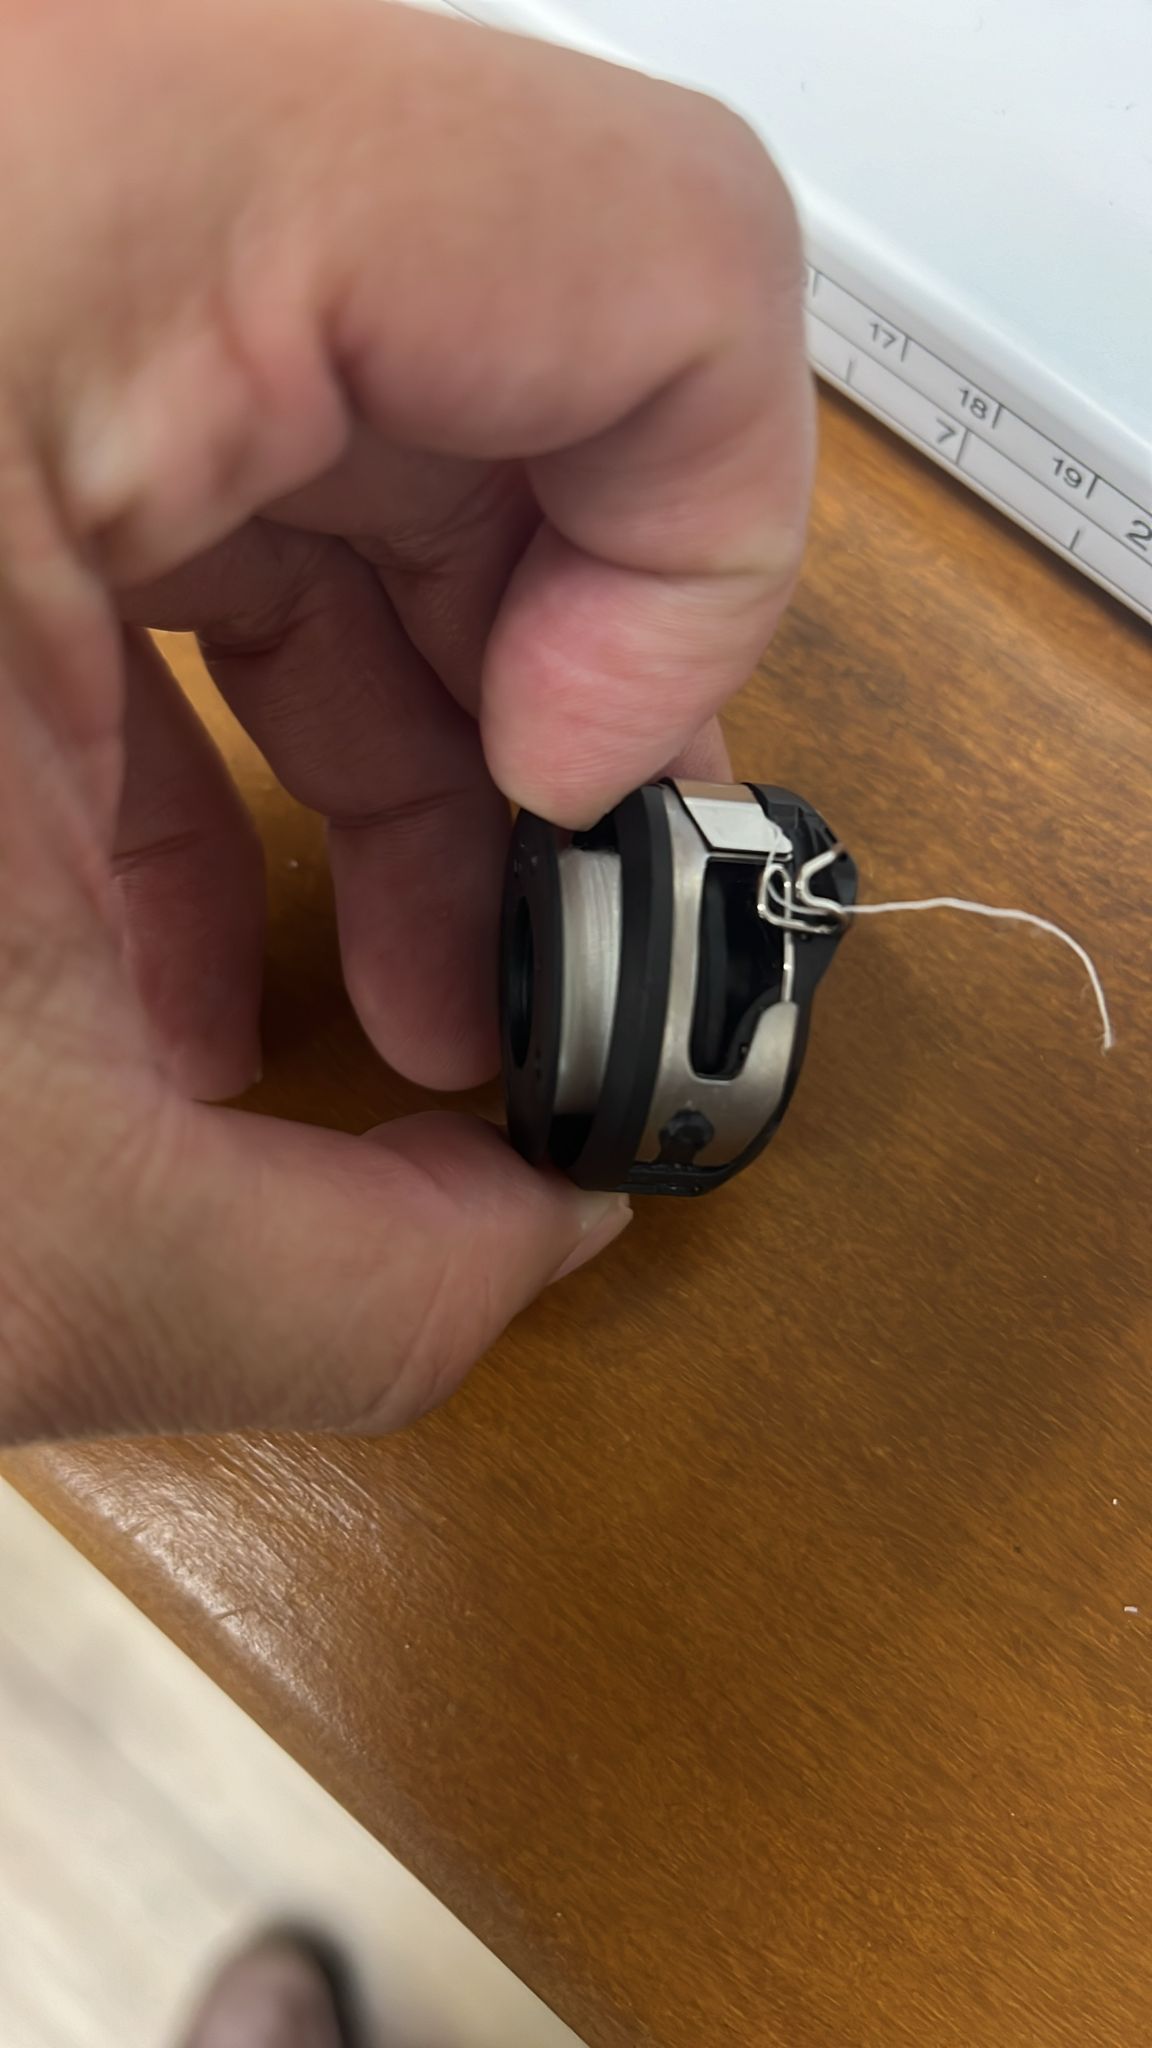
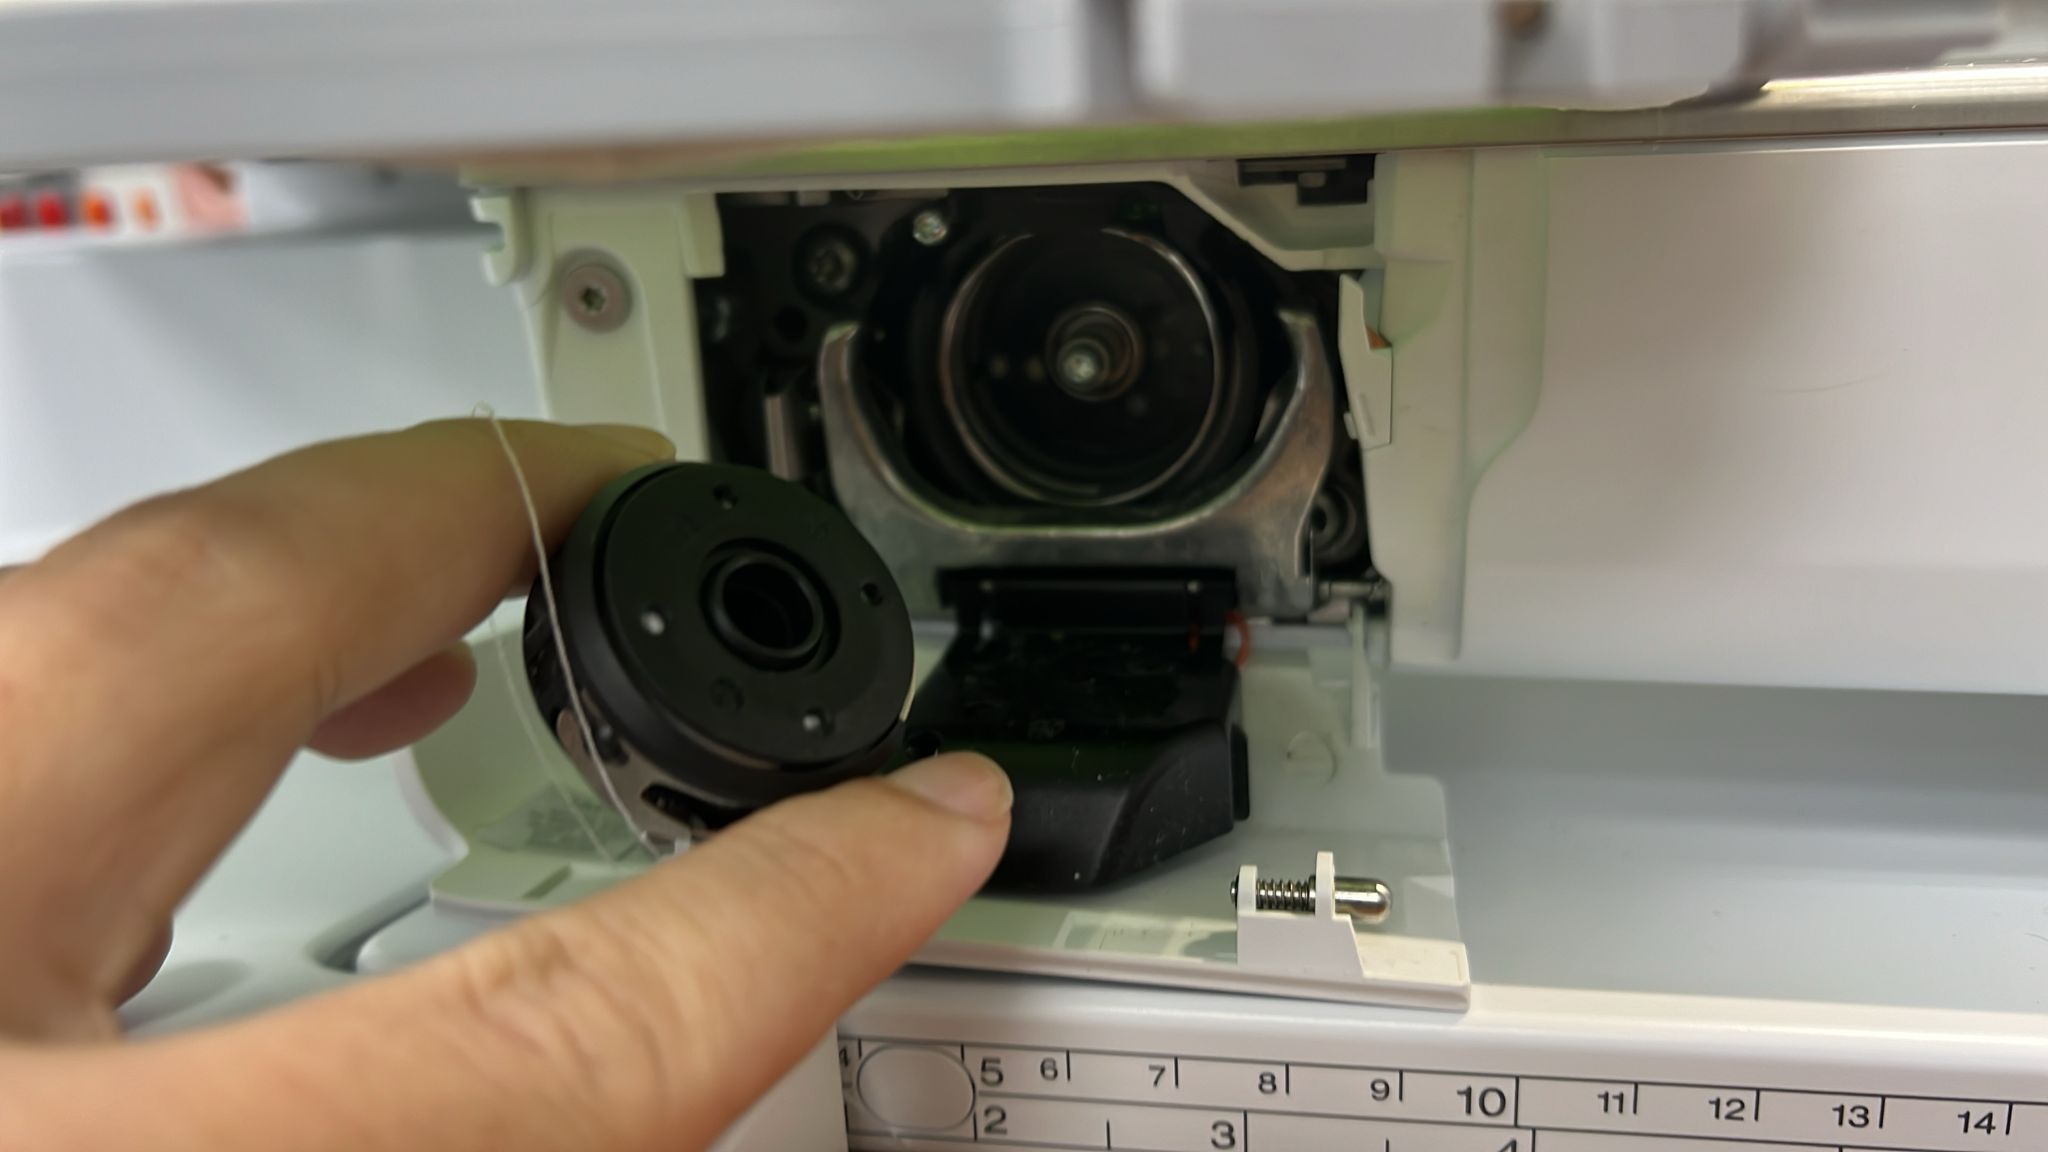
I still rem the starting days when I have to change the threads and the bobbins and do the embriodery designs. At first, it was so hard and the bernina keeps having issues. Now it's like a printer at my office, just take and use. Except occasionally, i need to refill ink(thread, materials, stabiisers, needles) or see error videos. In the collapsible-section are the useful information about embriodery and design terms.
Individual Assignment
Learning outcomes
1. Demonstrate workflows used in the chosen process
2. Select and apply suitable processes (and materials) to do your assignment.
3. Documented the workflow(s) and process(es) you used
4. Described problems encountered (if any) and how you fixed them
5. Included original design files and source code
6. Included ‘hero shot’ of the result
1. Workflow in Digital Embroidery
1. Conceptualise Design & Select Material
2. Prepare Design Digitally
3. Edit Design (Simulate is Optional)
4. Open Design in Embrodiery Machine
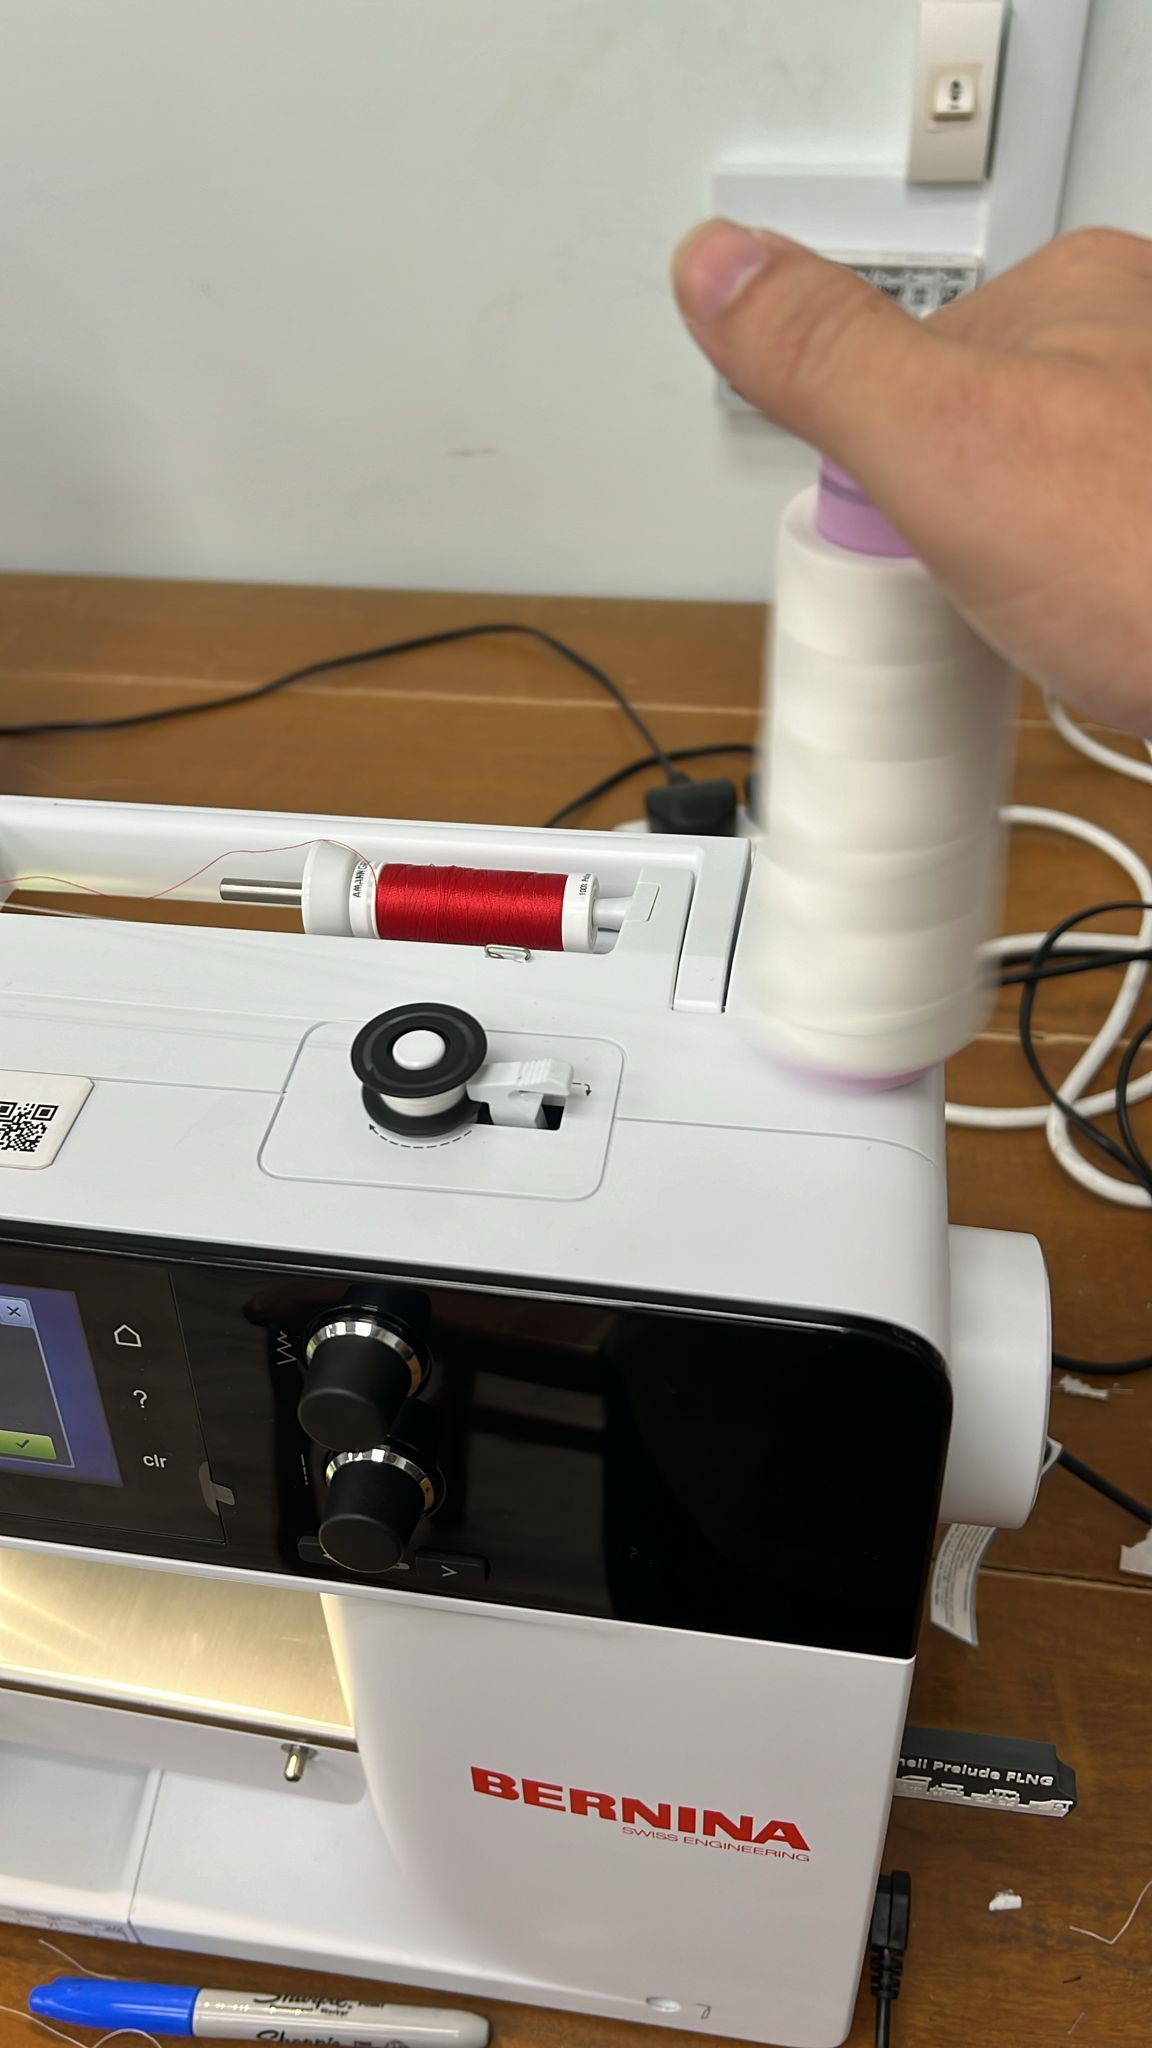
5. Prepare Machine
6. Embrodiery
2. Select Suitable Process and Materials + Tools + 3. Document Workflow
1. I selected Inkscape to do the same digitalisation process of Singapore Flag.
Inkscape:
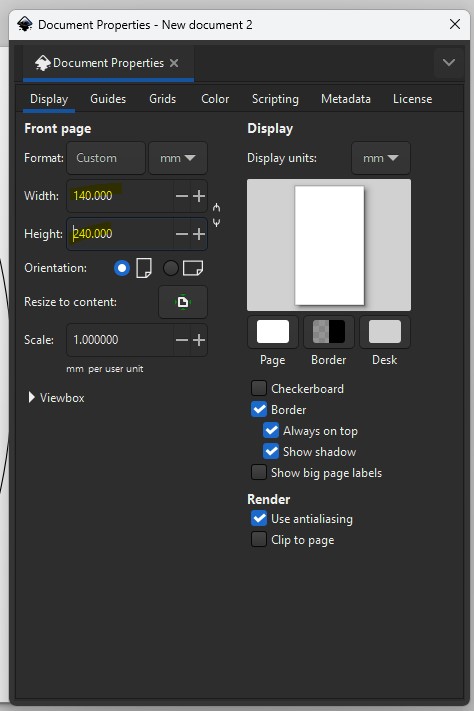
A1. I referenced the hoop which i am using and create smaller hoop in inkscape.
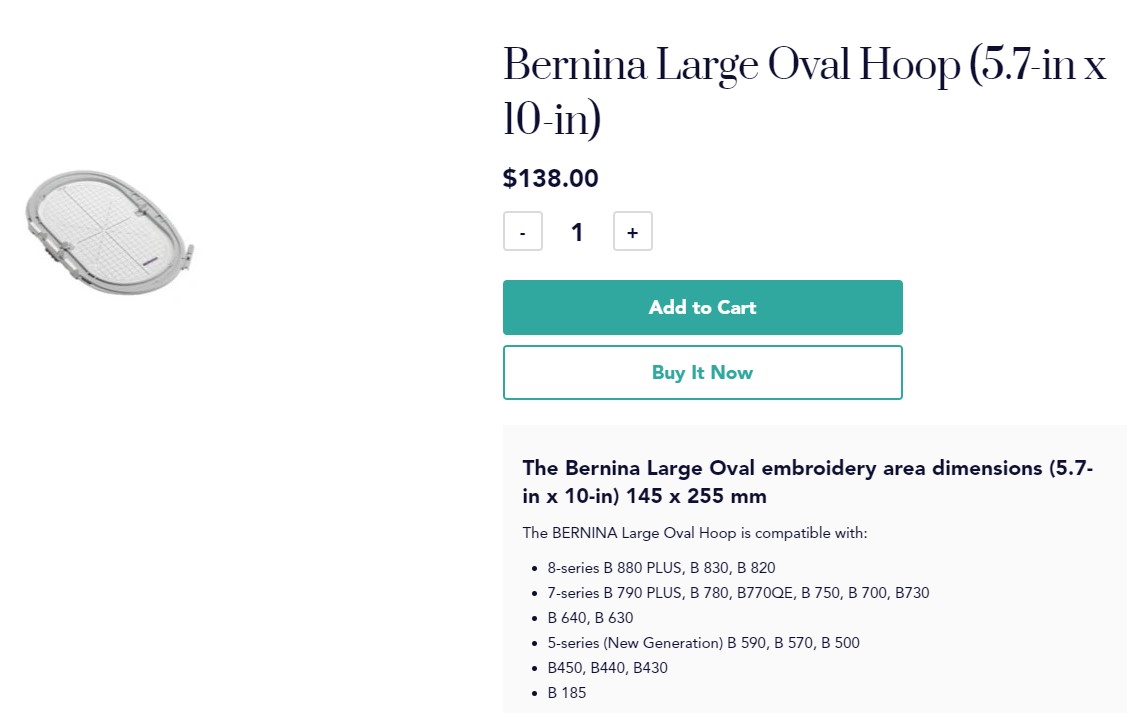
A2. I took Singapore Flag from internet and sized it into the loop.
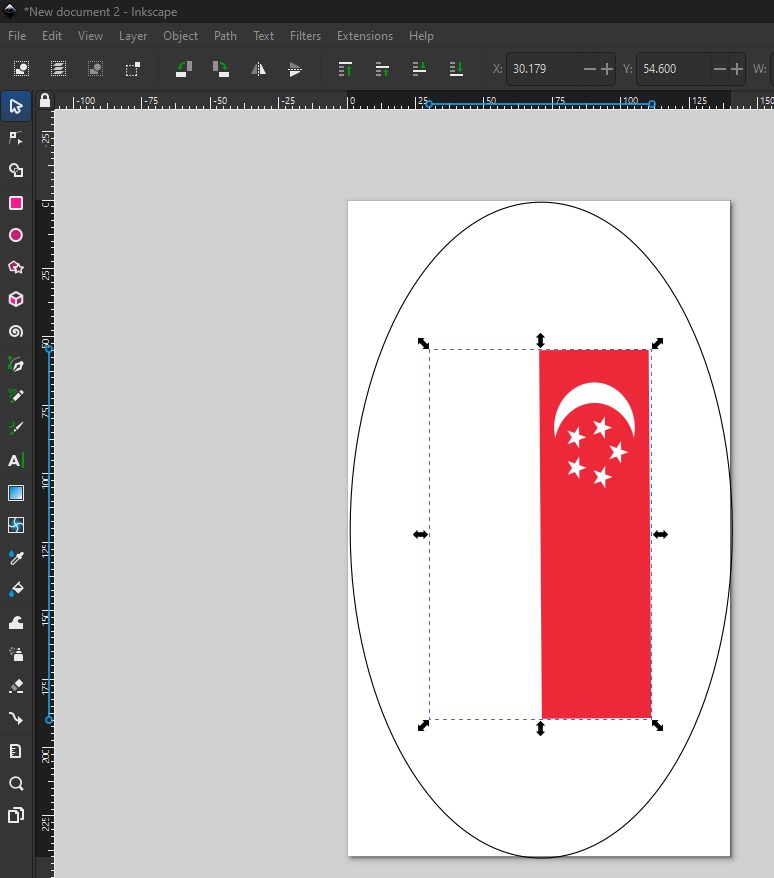
A3. Tracebitmap and basic cleanup. and I wanted the stars as separate sewing hence I used fill feature to put in new layers.

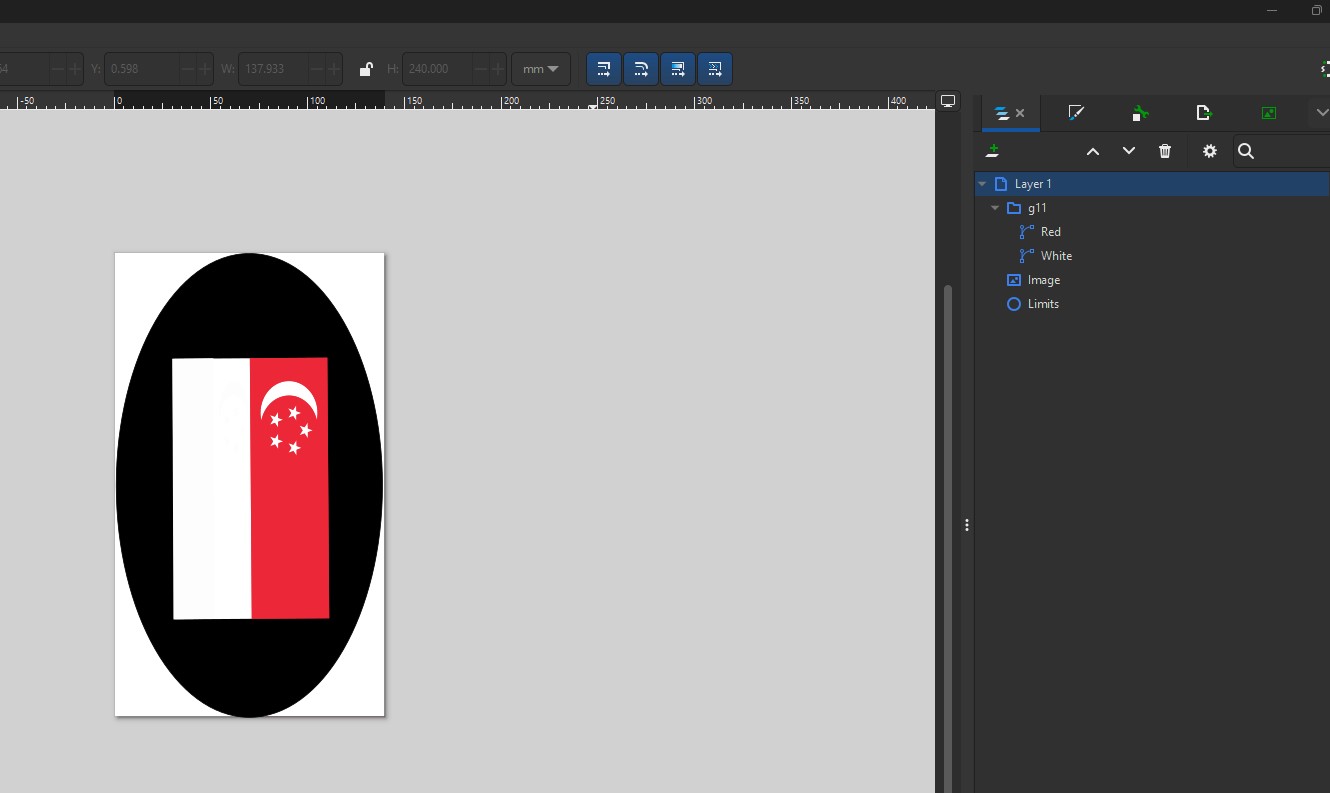
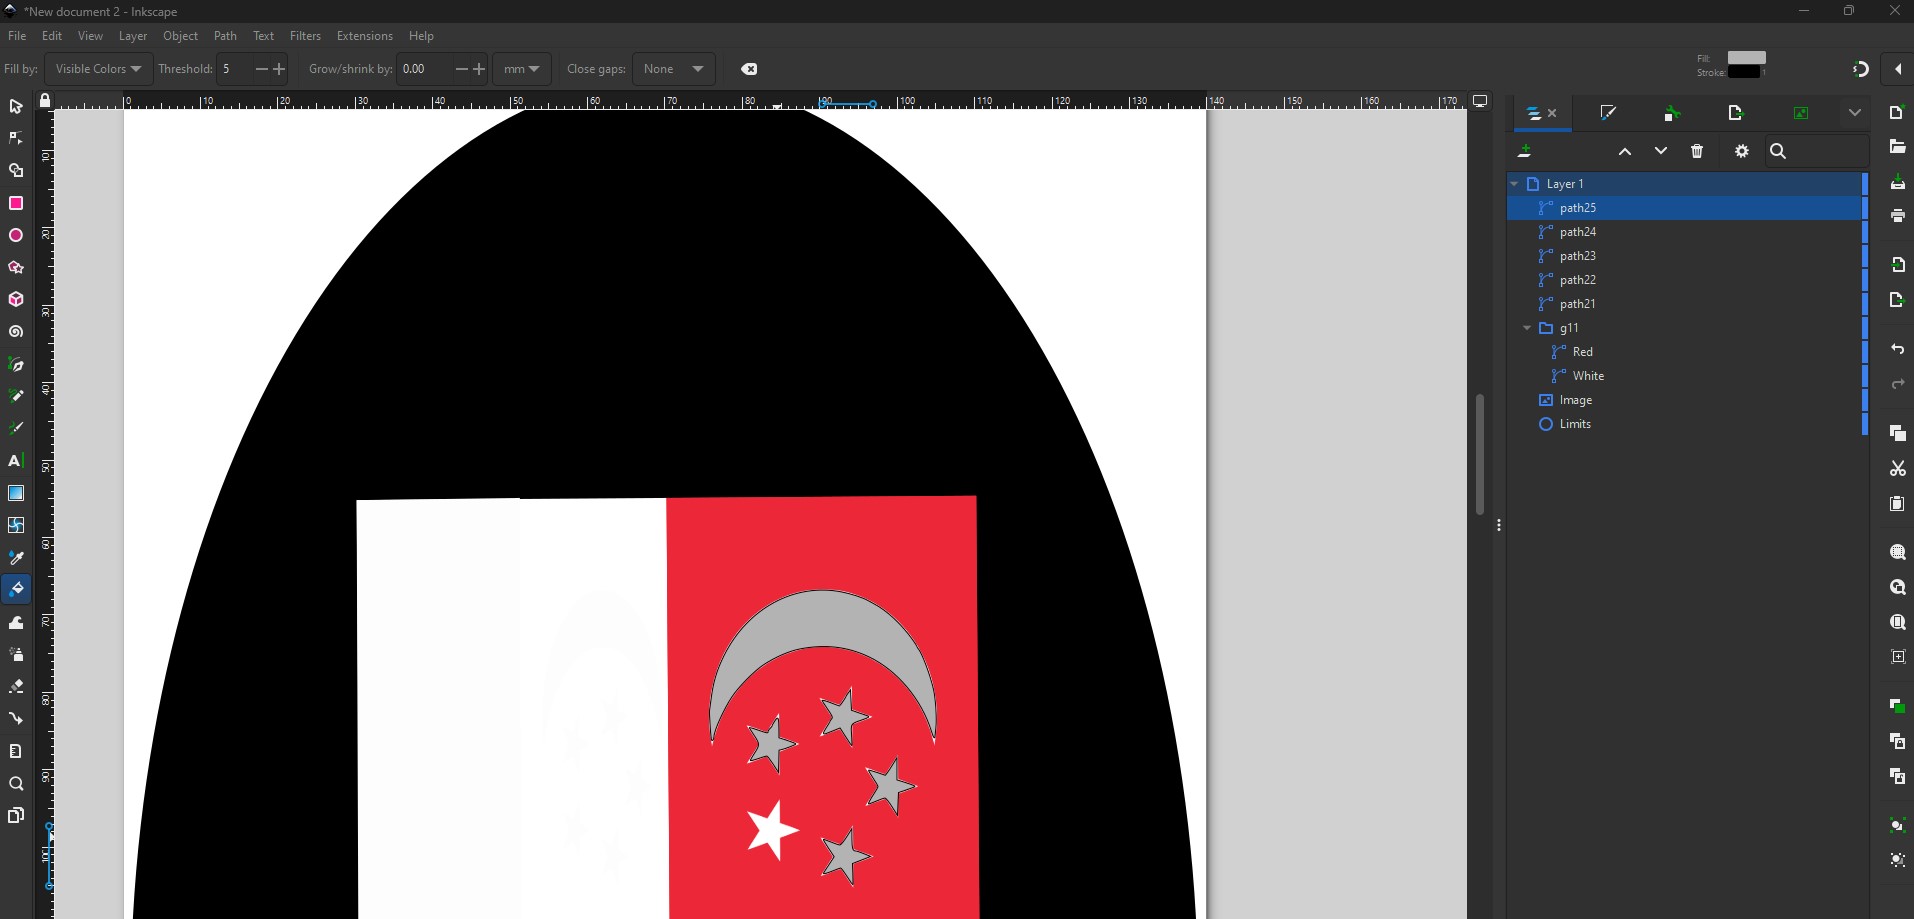
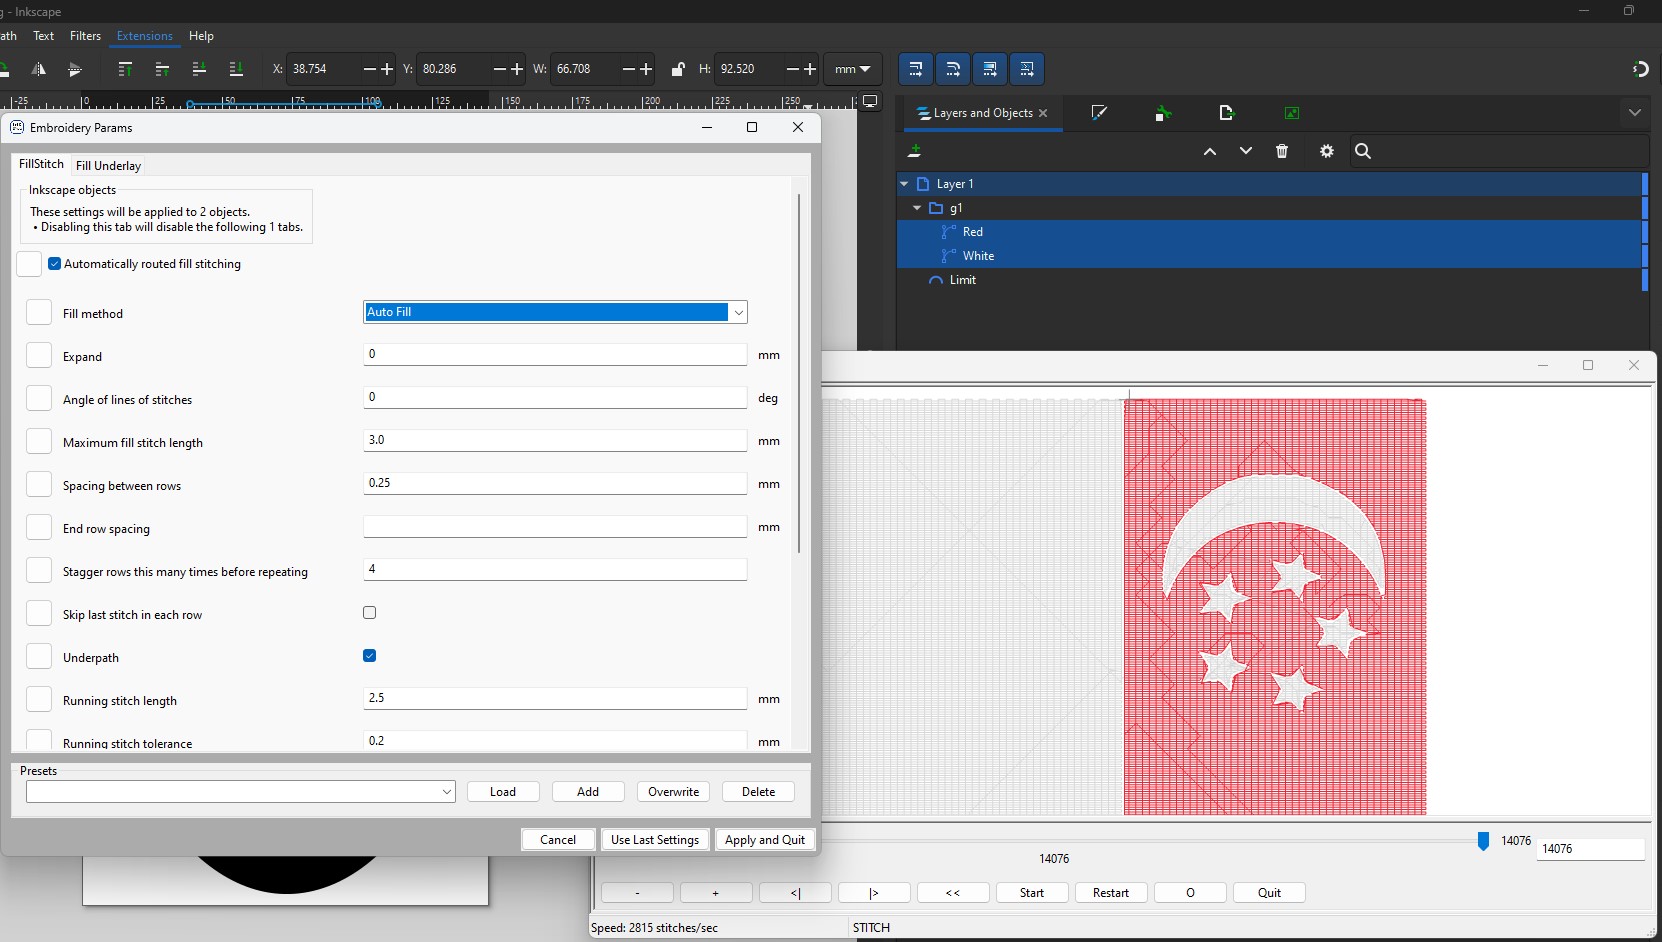
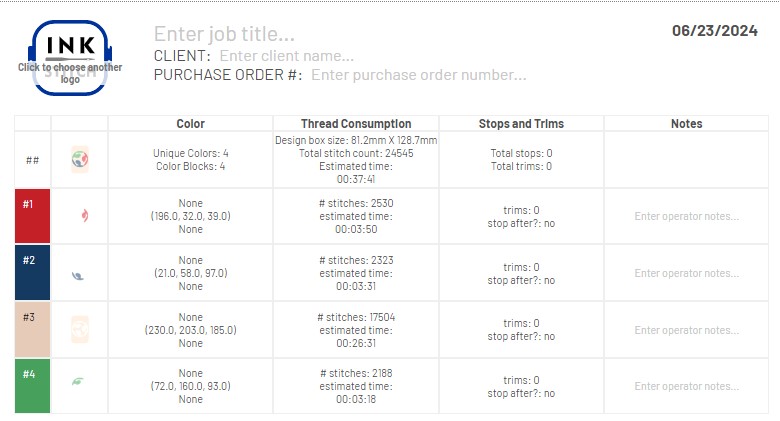
A3. I used Inkstitch Extension/ Params and selected the white and red names to be embroidered. The simulation is shown.
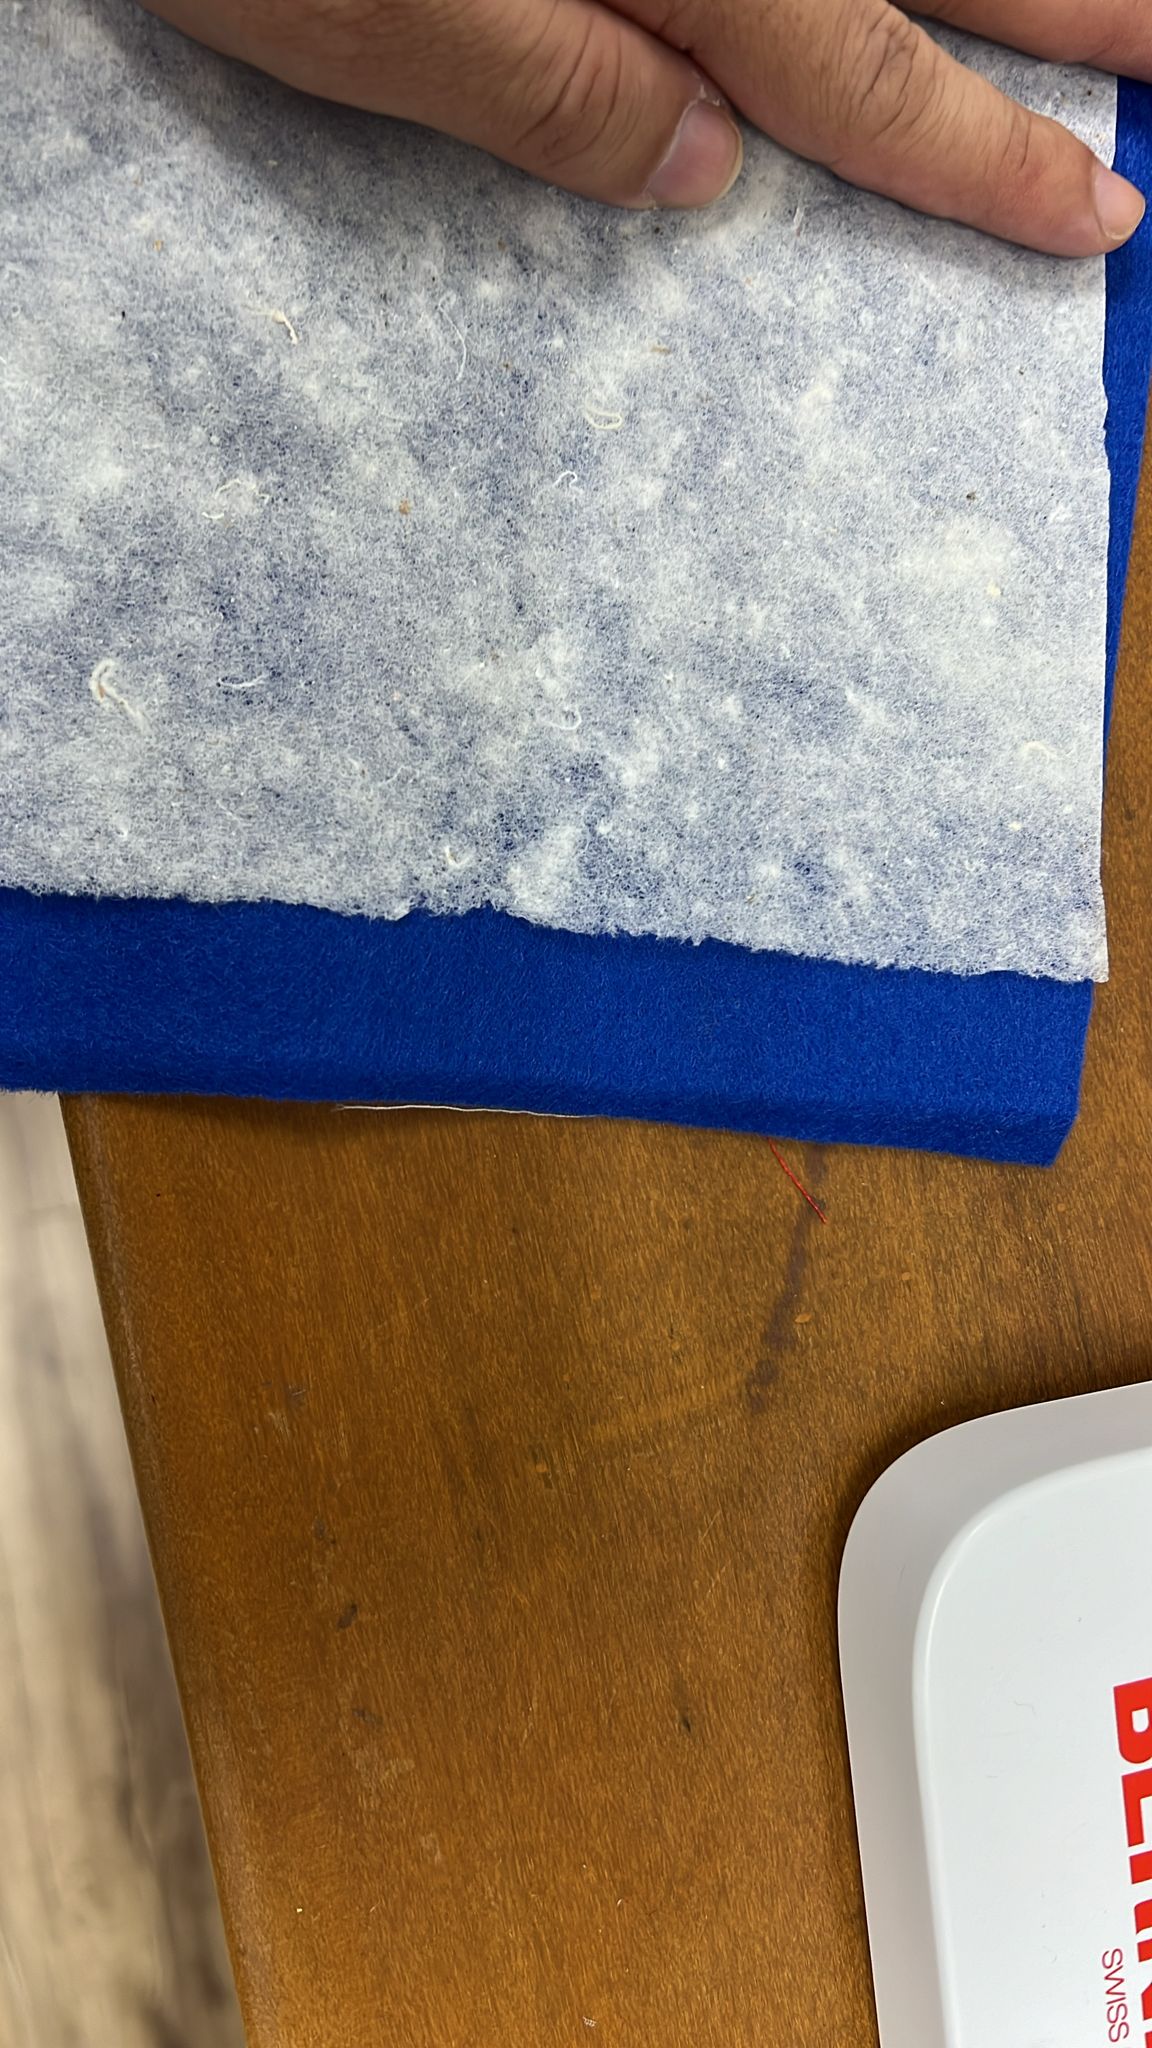
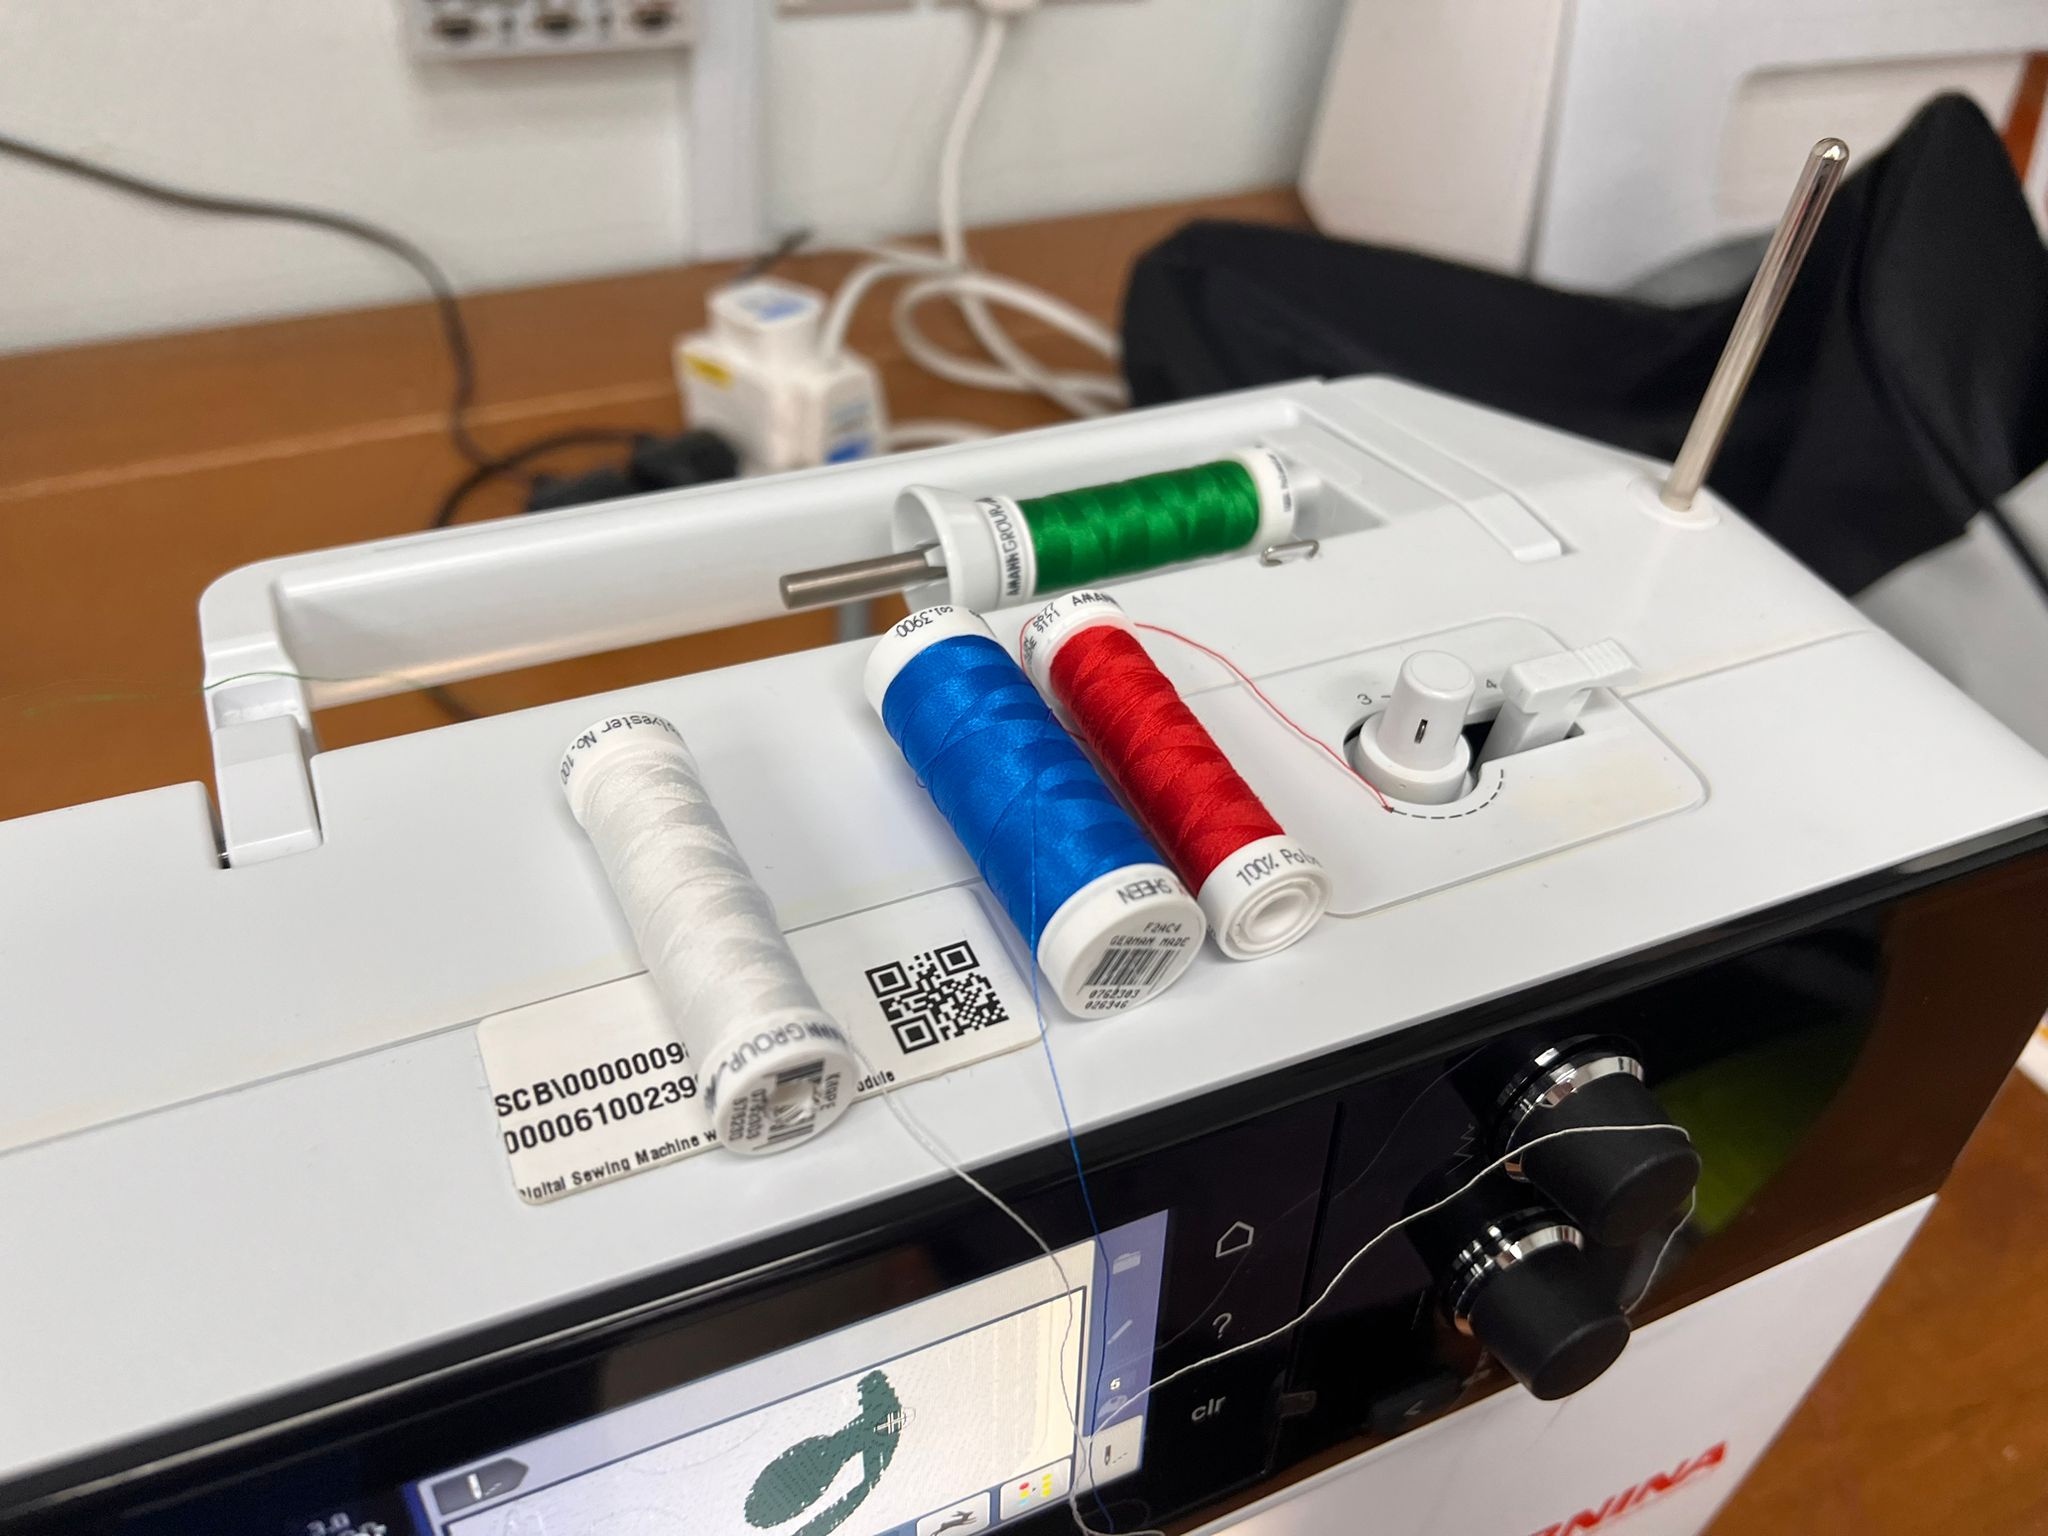
2. I selected felt for Embrodiery and used Stabiliser on it.Then i Hoop it through the large oval hoop and mount it onto the embrodery machine.
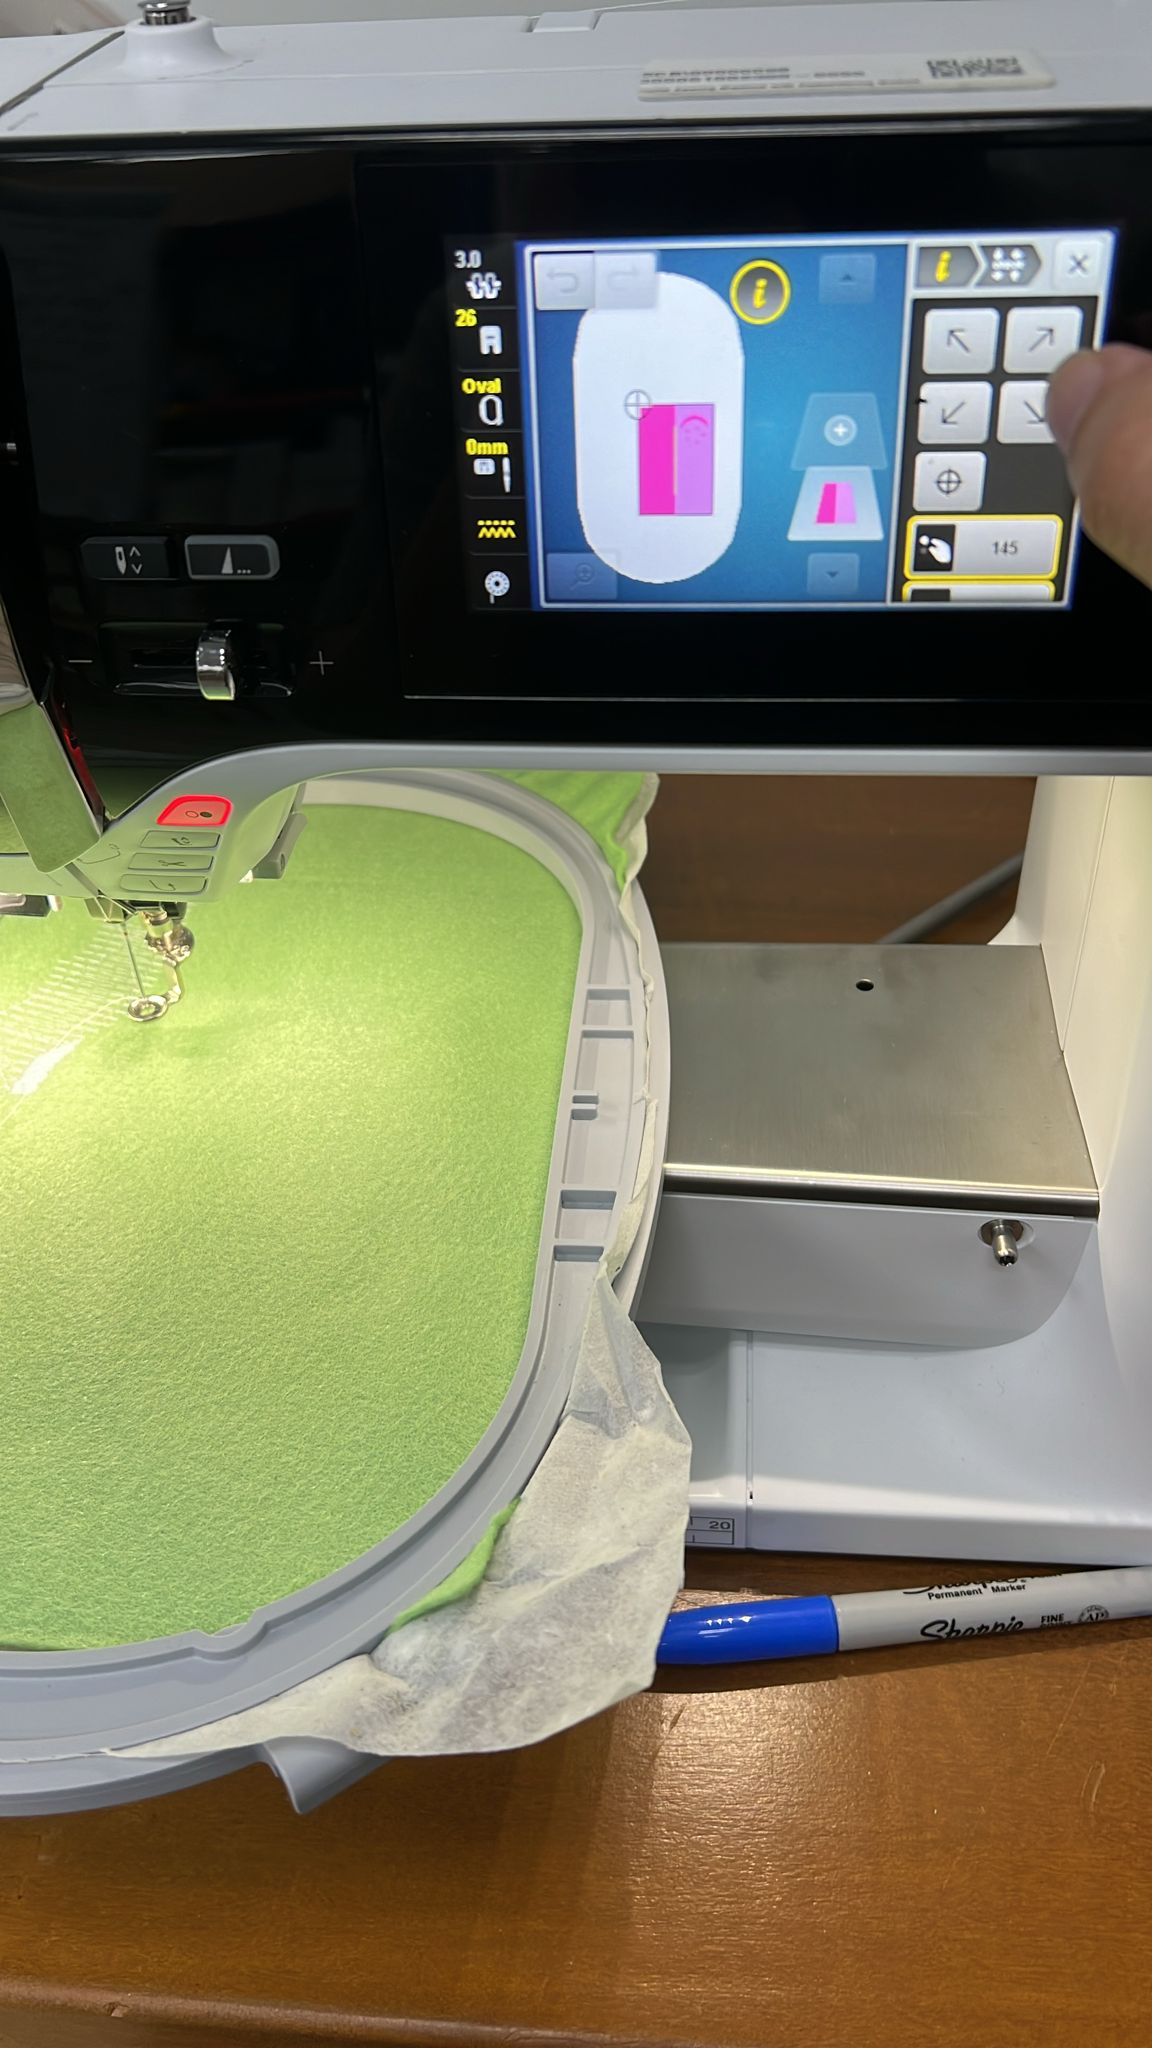
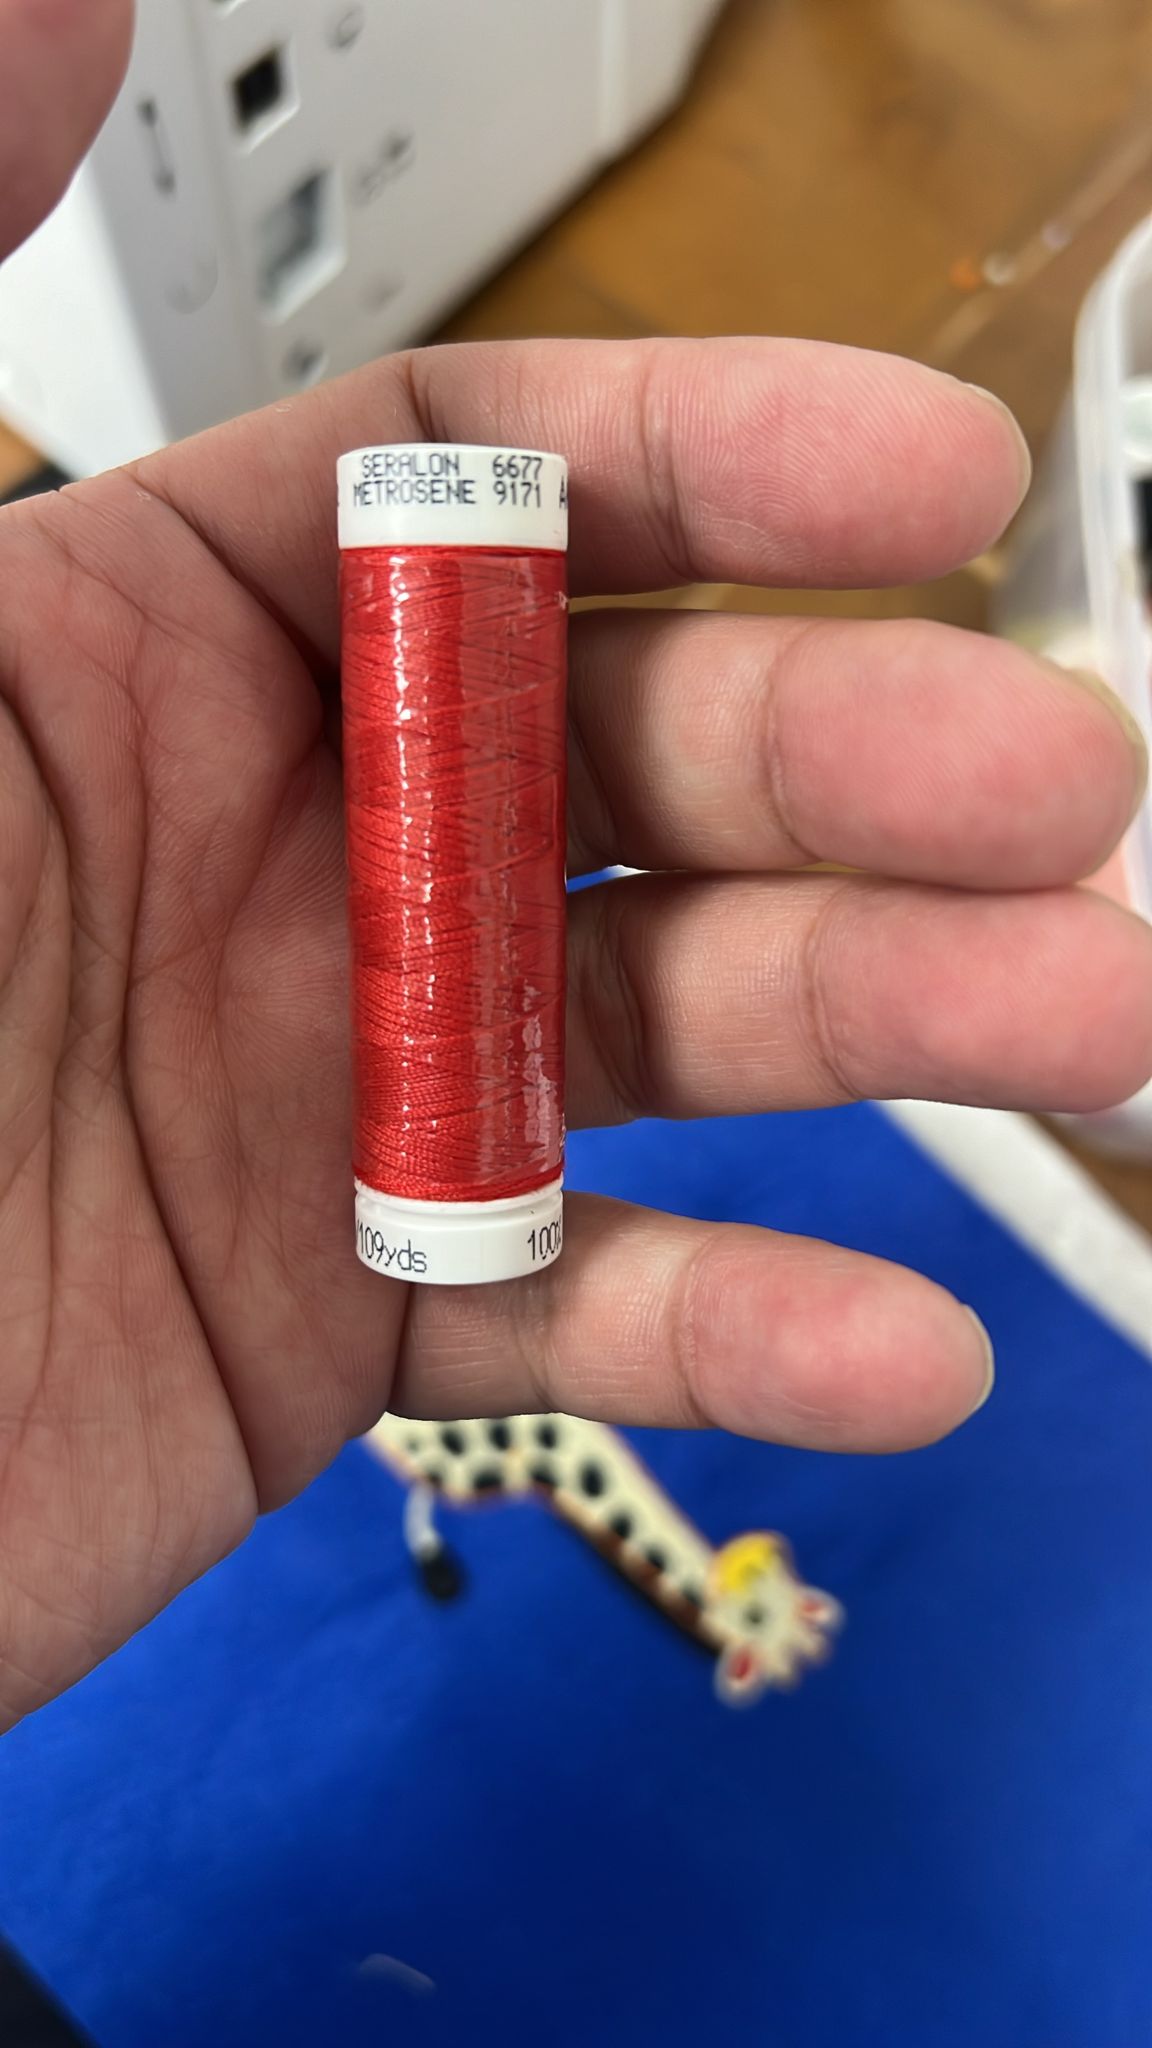
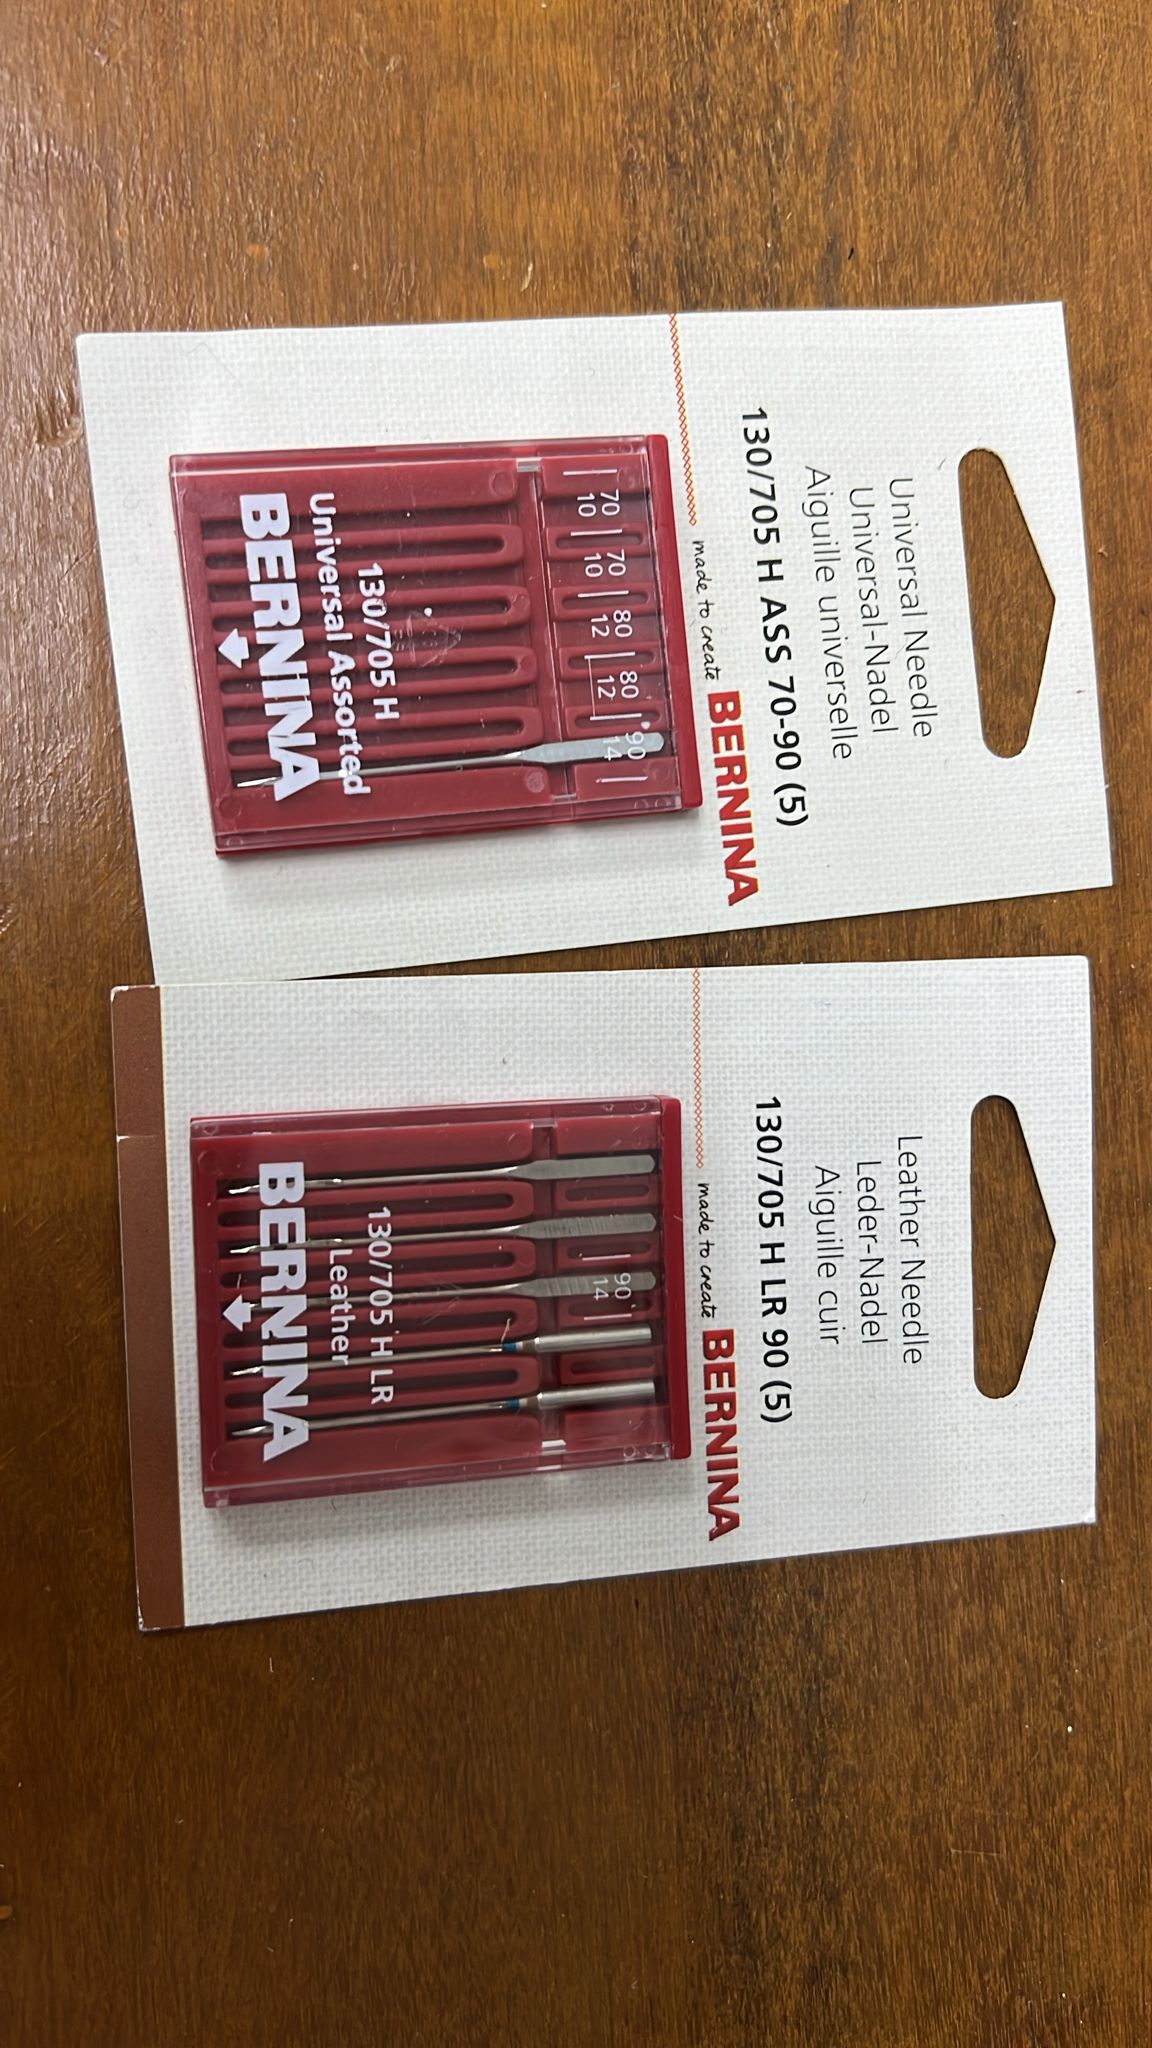
3. I used default embriodery needles, stepper foot and thread -- 80/12 needle, Foot #26, 40wt Polyesther Thread, Stabiliser and began Embrodiery
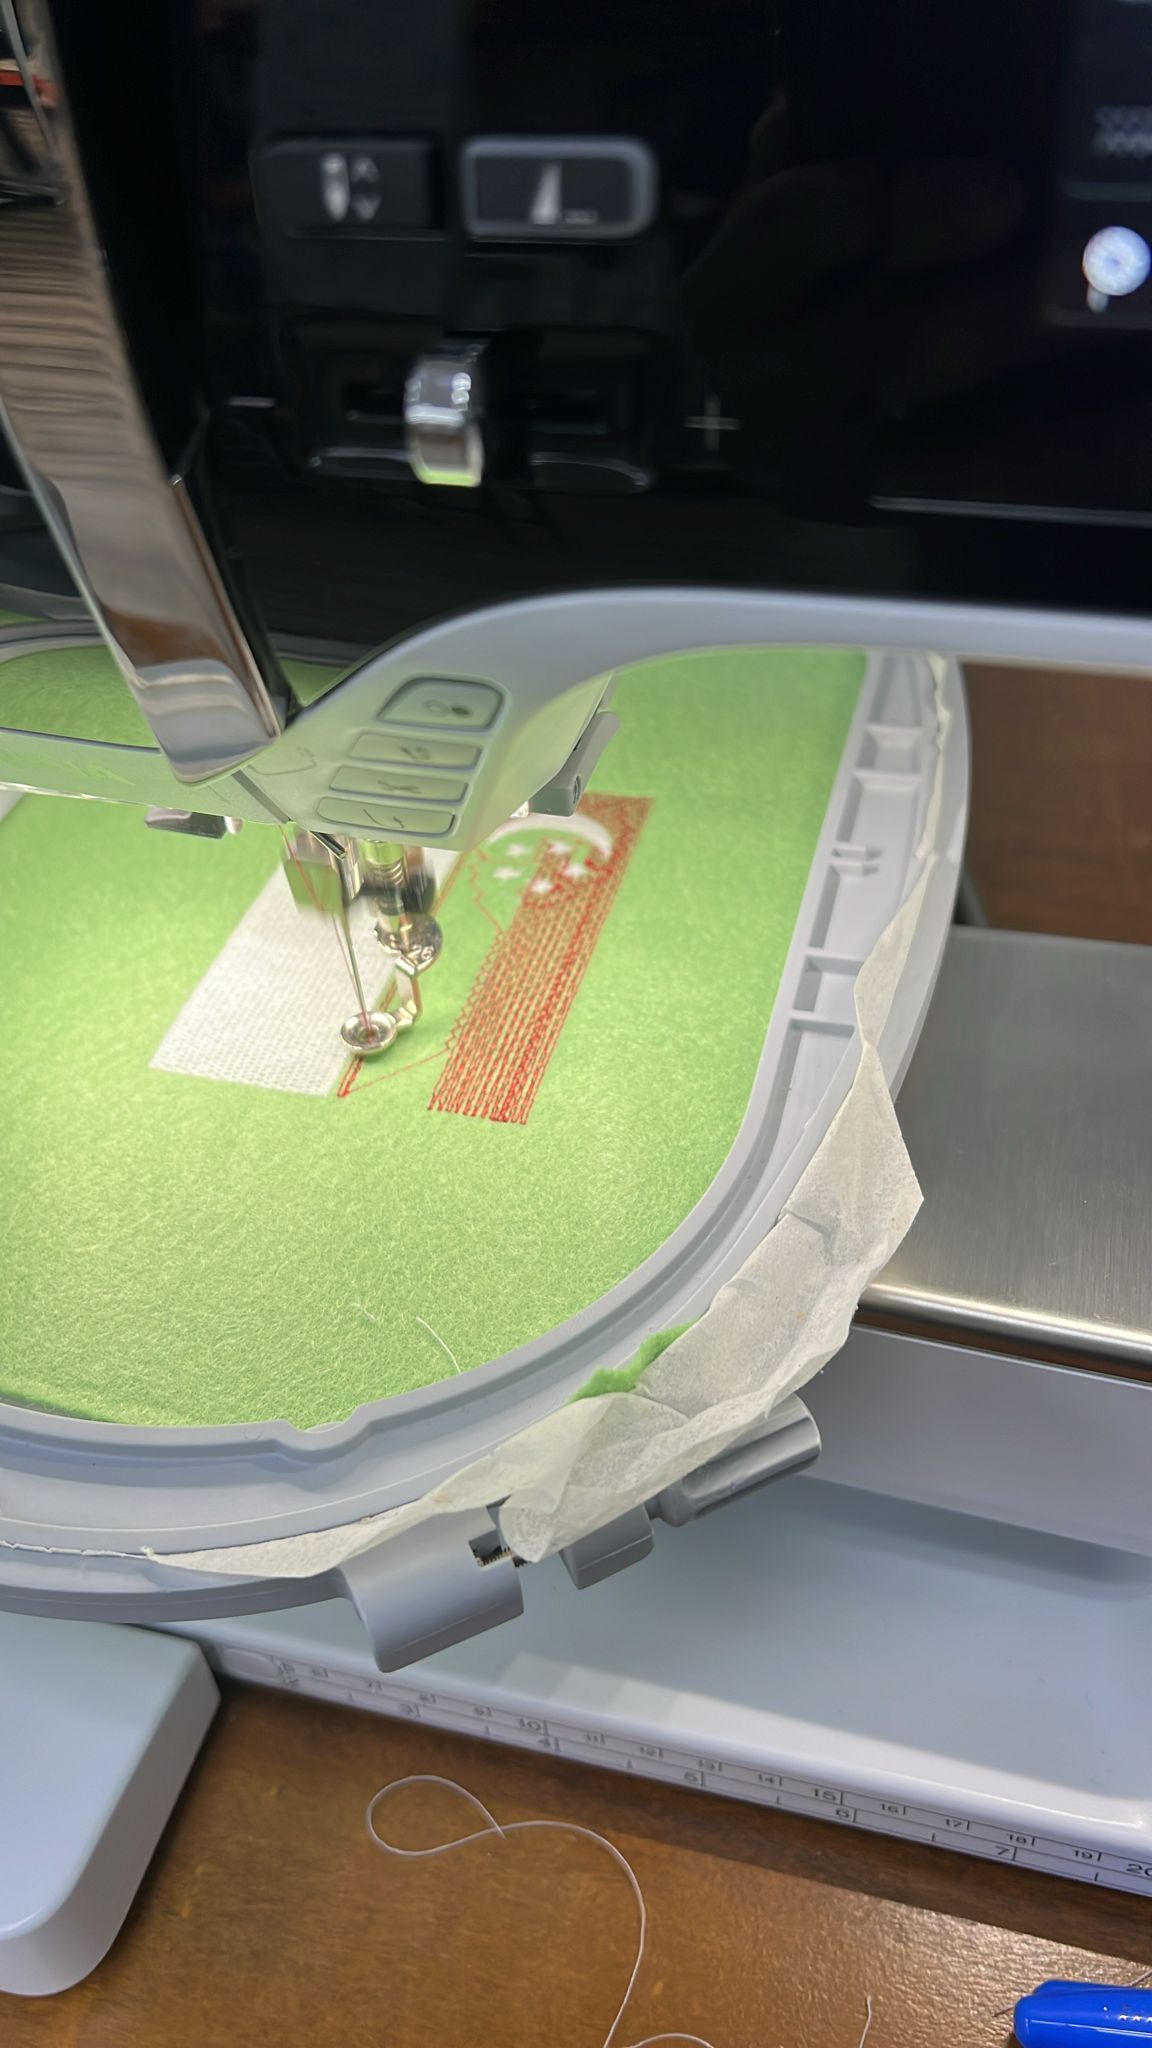
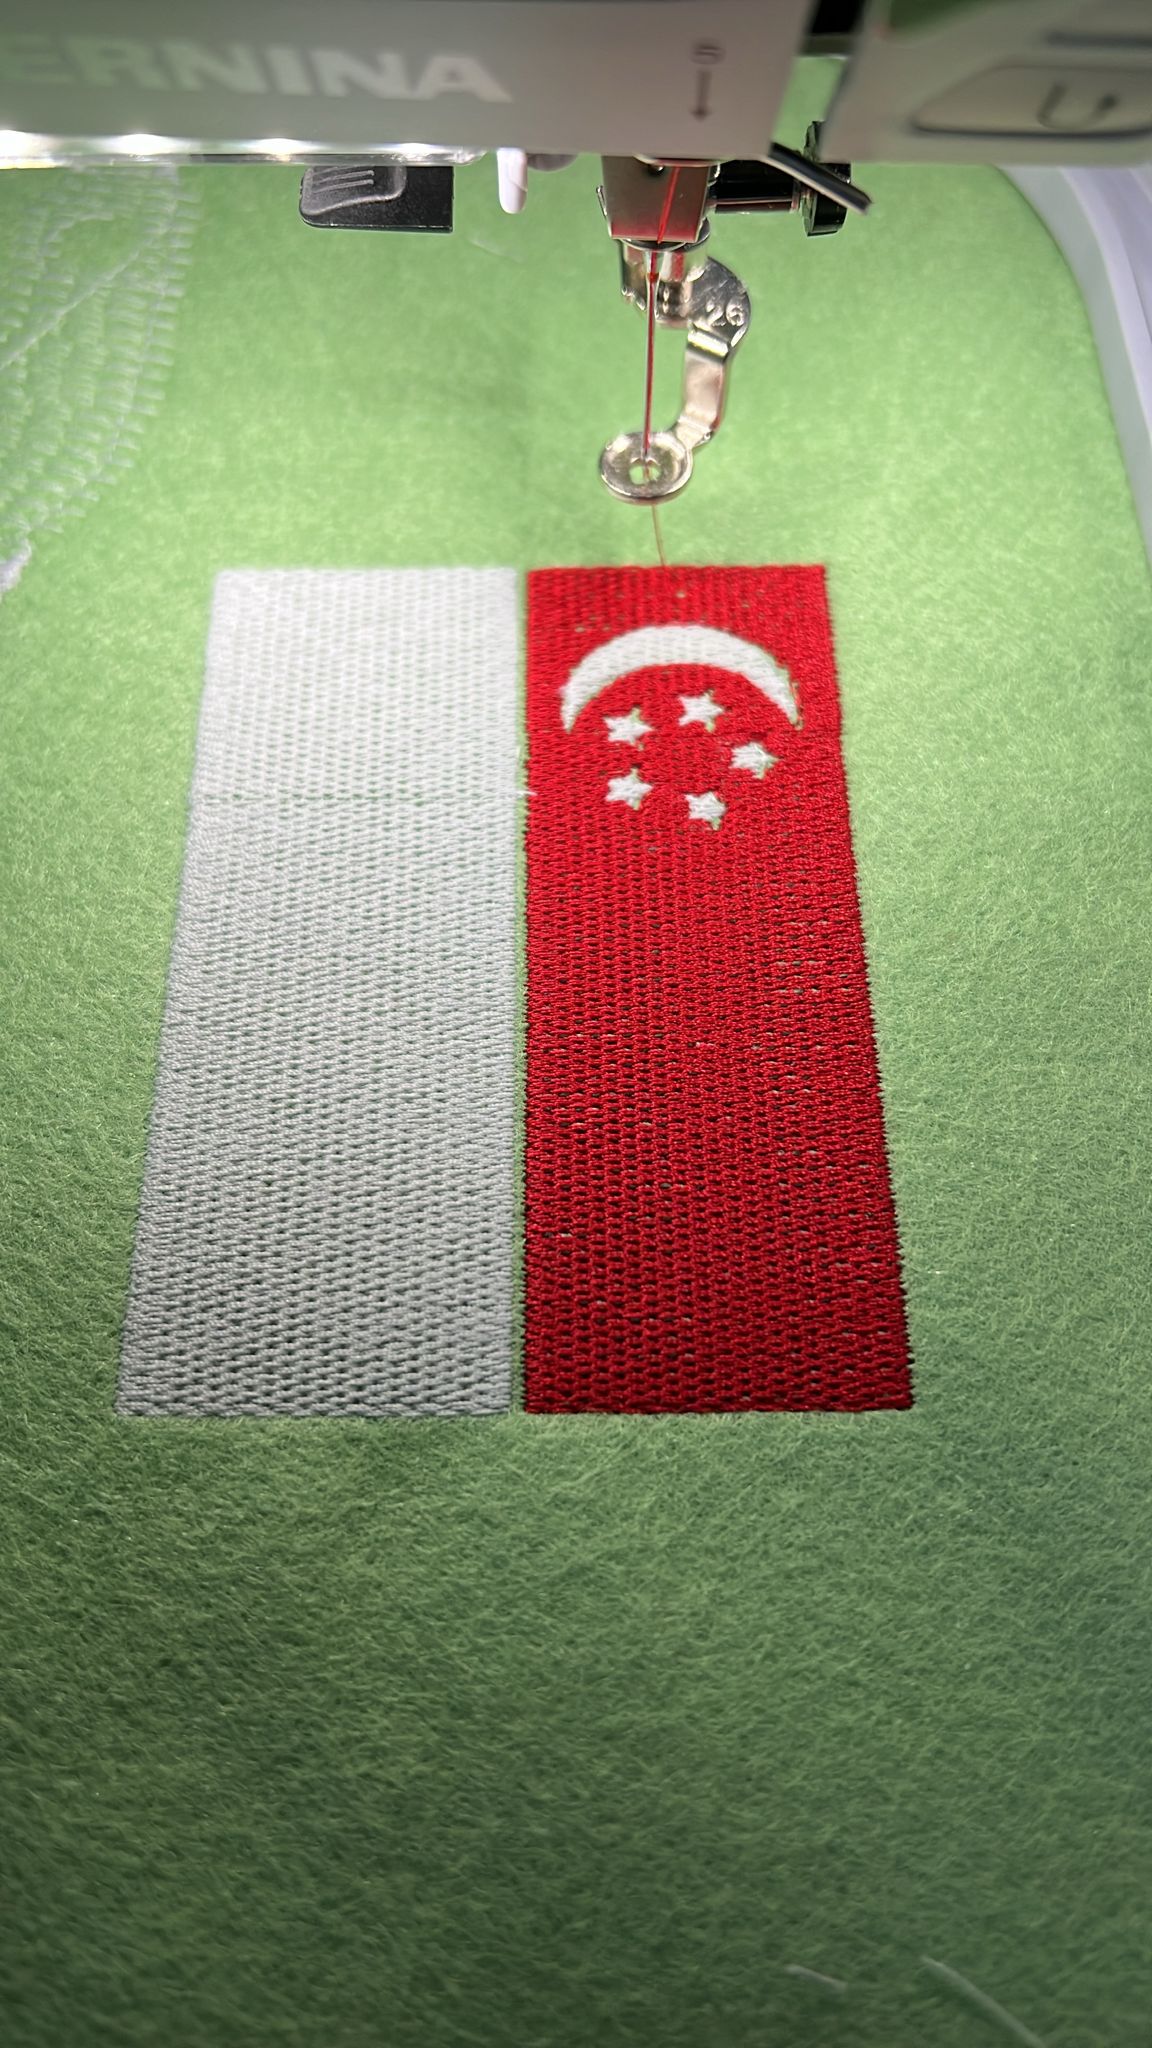
4. Final
4. Problems
1. No major problems except took about 1 year on and off to learn the basics and how to maintain the machine, but still feeling noob. Also another problem is that the trial and error to get better settings. There are too many terms which I did not know so I summarised most of the terms in the theory section below, some are shared by bernina sewing experts, some inkstitch teachers in our education system and some pointers illustrated by chatgpt.
5. Original Design Files
- Inkscape FIle
- PES file
- EXP file
Another Embriodery in case National Flag is not enough
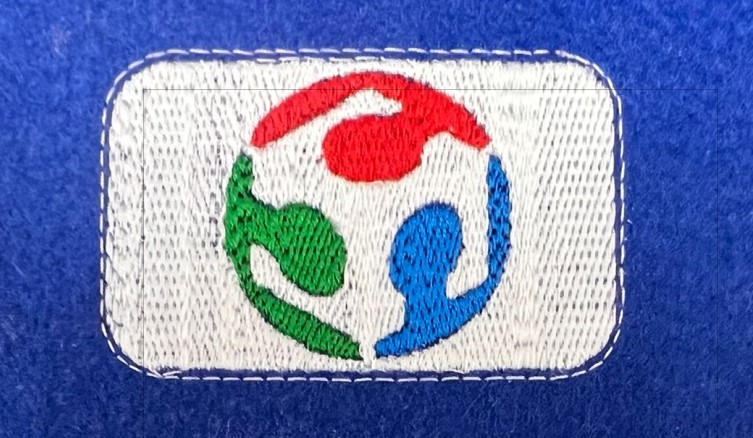
I did embrodery design again for FabAcademy Logo,
First, I cut and copy a fabacademy logo and draw a rounded rectangle and layer it behind the logo.
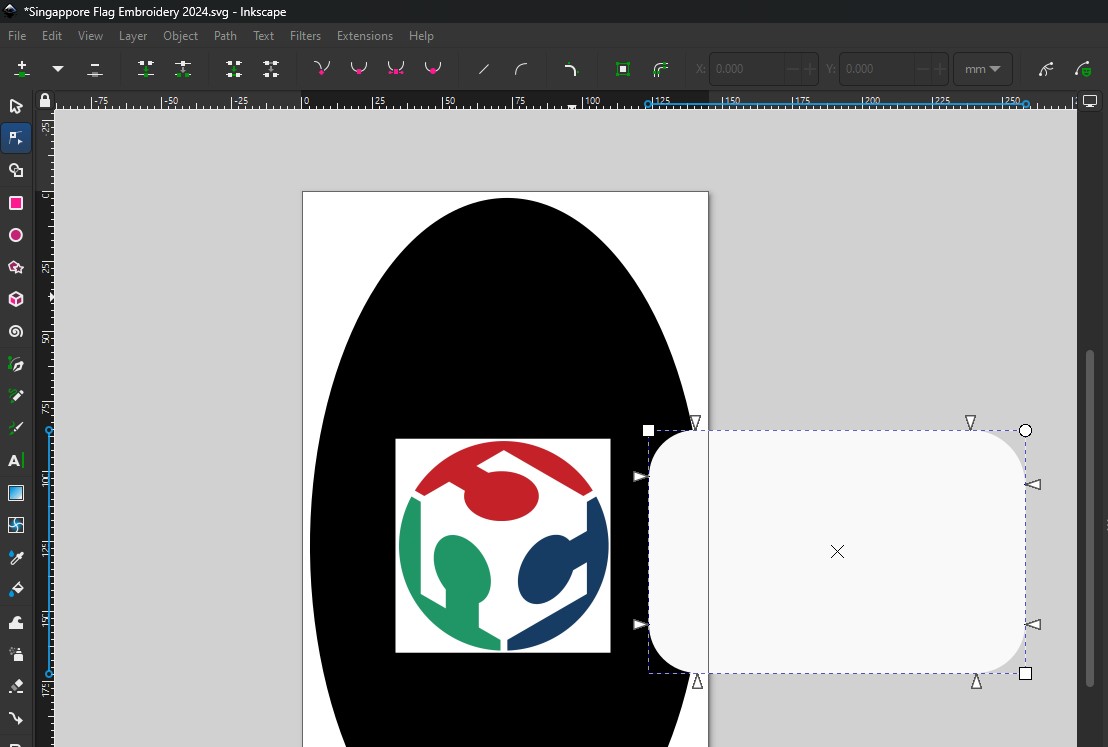
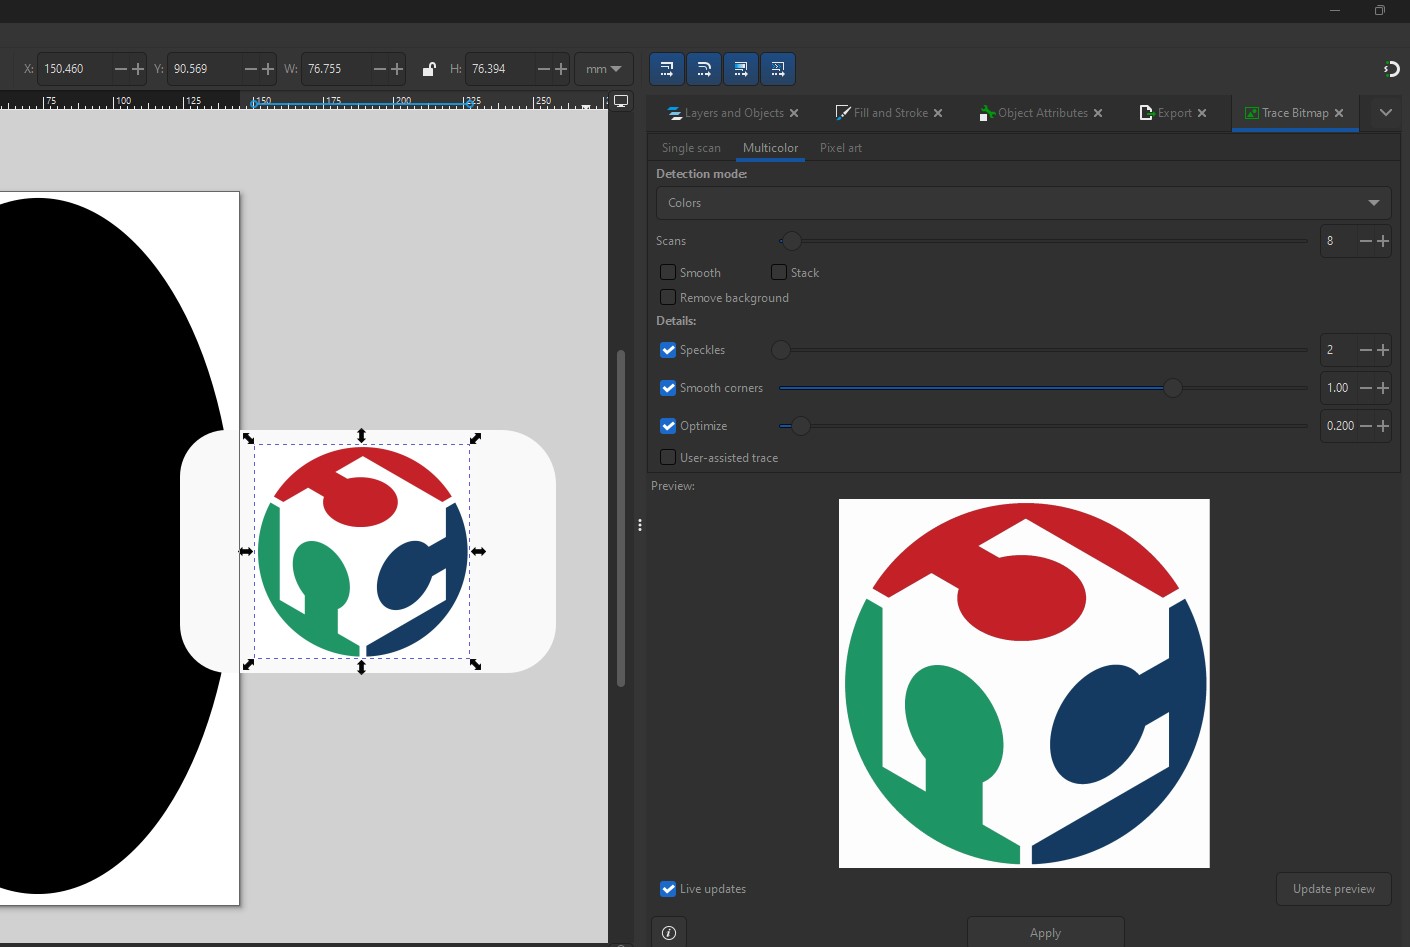
Next I trace bitmap on the logo and post process the picture.
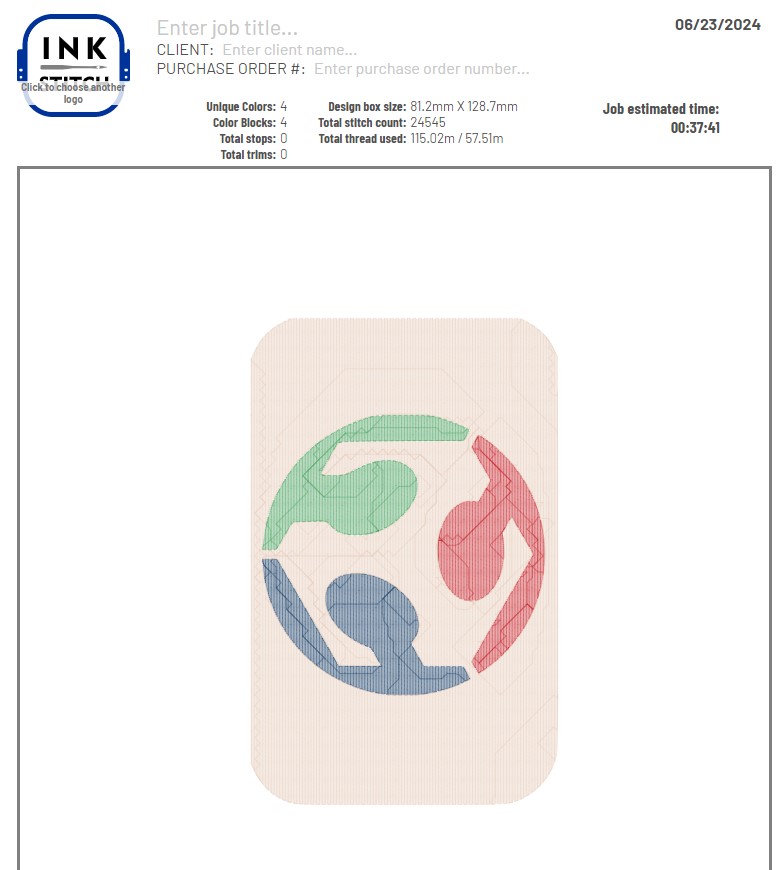
Using the Inkstitch Extension/paras/ I run a simulation of the parts to sew and observe the simulation via Extension/Inkstitch/Visualise&Export/PDFExport
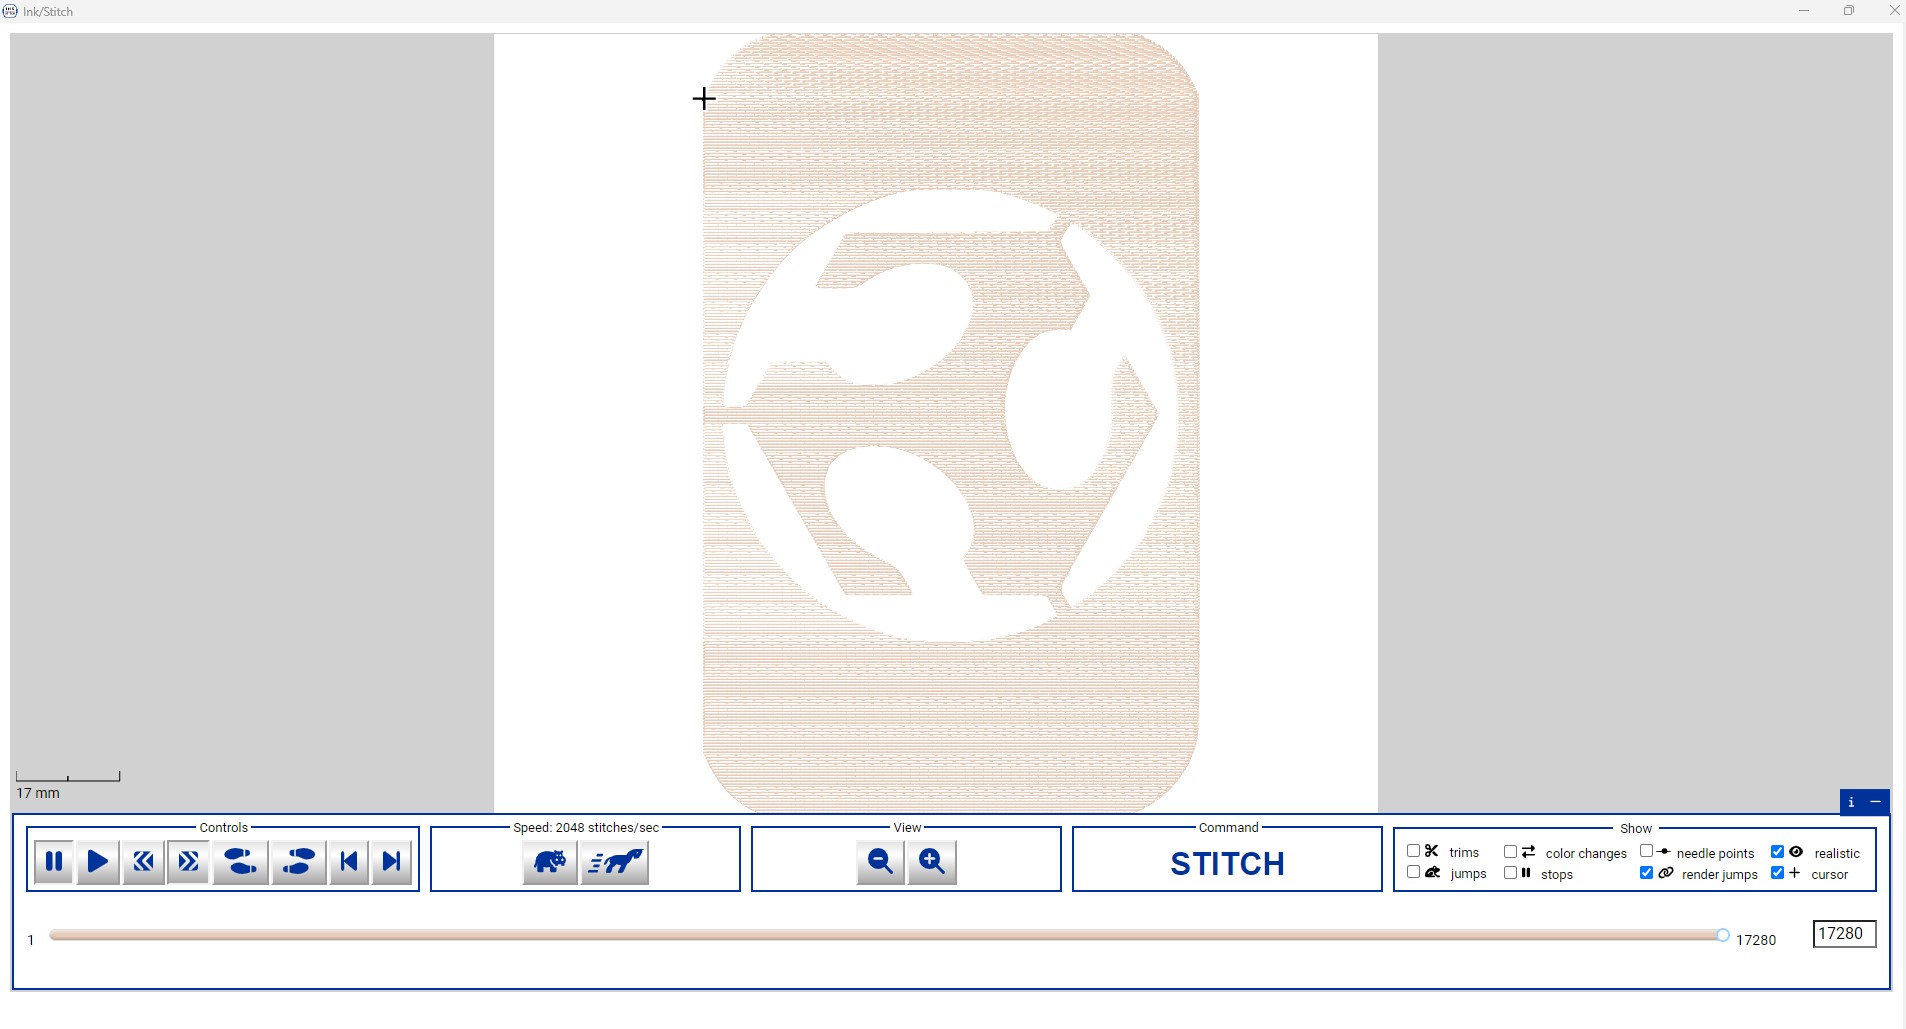
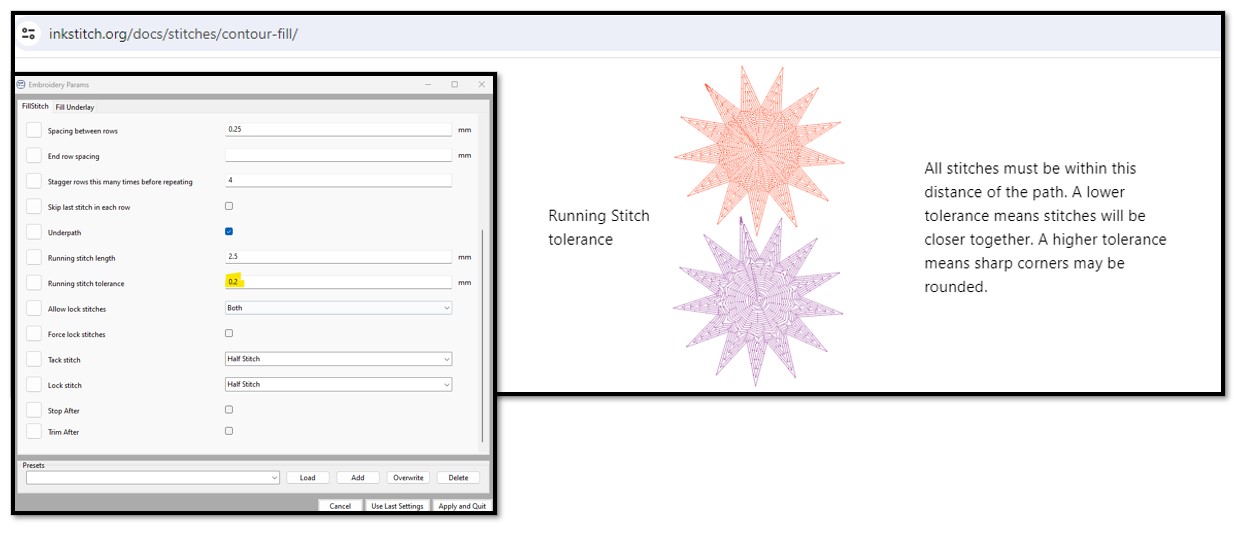
Using the Inkstitch Extension/paras/ I adjusted the tolerance to 0.17mm so that stitches will be closer. This value requires trial and error.
I screenshot the inkstitch Manual which i often reference. I filled the shapes using uniform fill.
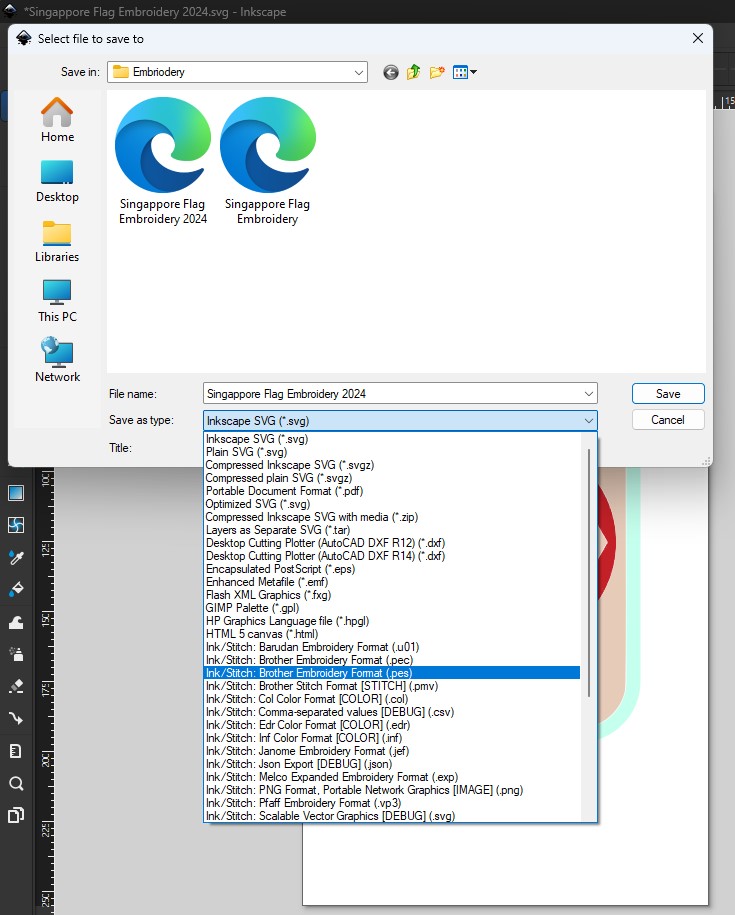
Using save as, I saved the file
- SVG
- PES
I loaded the file into BN590 Bernina and loaded the hoop. I run out of fabric due colleagues last minute took all fabric for another event at company, so I use the felt which had a design which i taught other students of mine how to embrodier.
So I had to adjust so that I embroder at the correct location.

I check the location with the check tool.
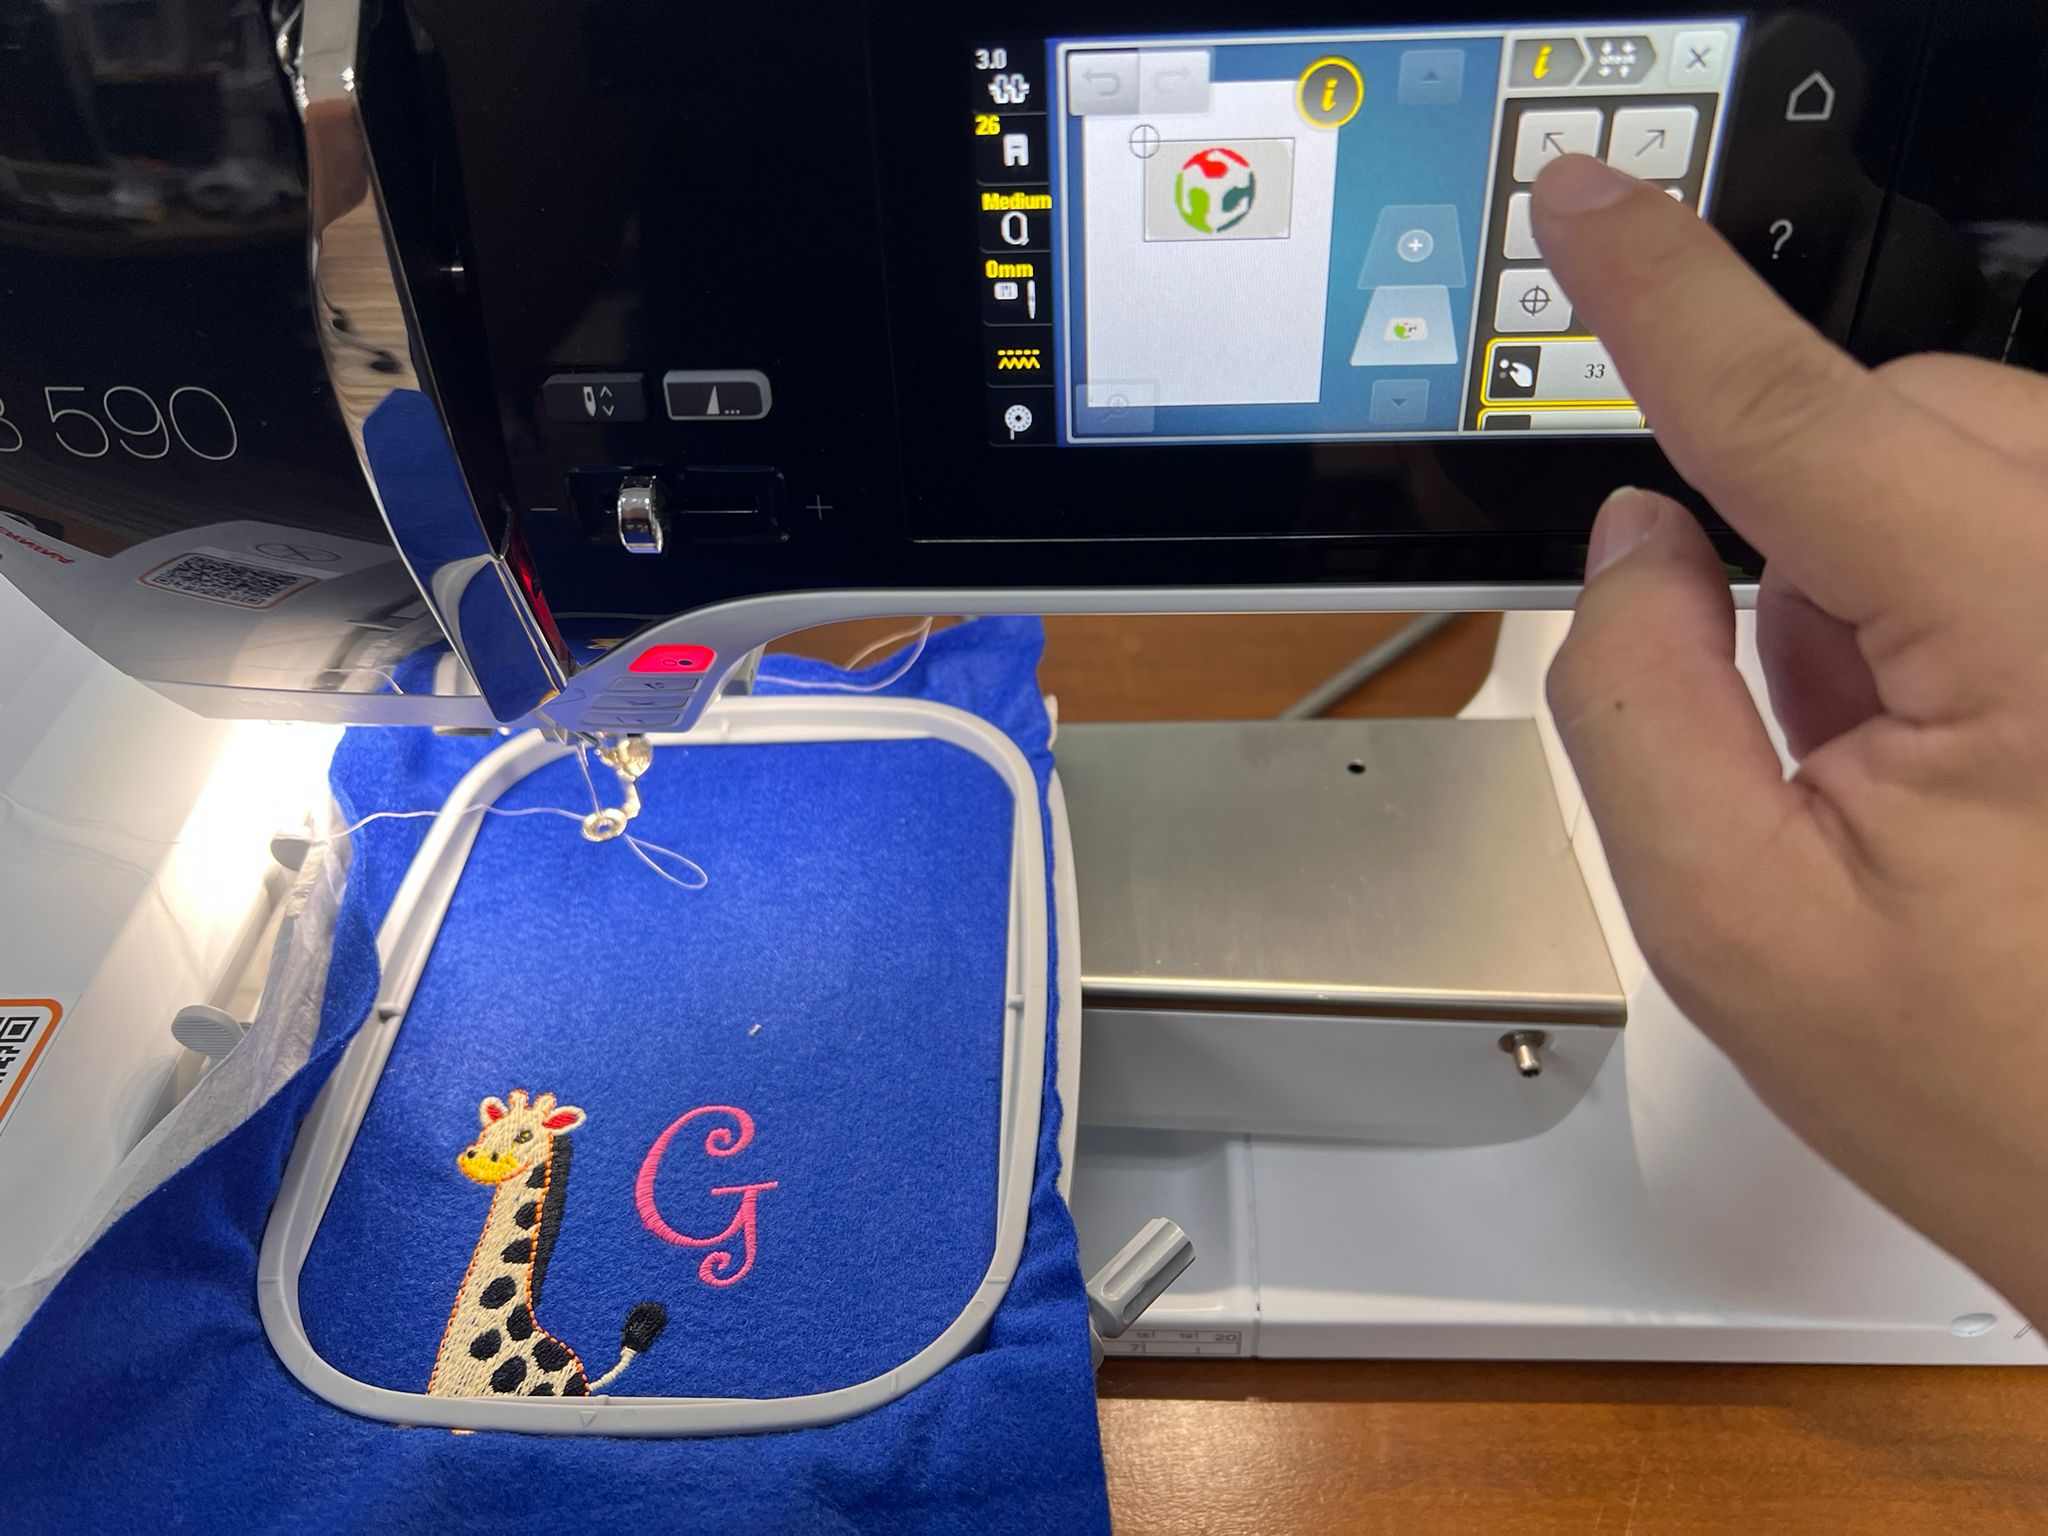
I check the colors and loaded them according to the color sequence.
I started Embrodering
The final Product, For future makes, I think I can try to improve it in future by increasing the tolerance further down to 0.15mm for the white color area.
Different Types of Stitching
Stitching plays a crucial role in sewing and embroidery, determining the appearance, strength, and functionality of the finished product. Here are various types of stitching techniques commonly used:
| Stitch Type | Description | Structure/Properties | Common Applications |
|---|---|---|---|
| Straight Stitch | A basic stitch created by sewing straight lines, commonly used for joining fabric pieces together or for simple sewing tasks. | Simple and strong, ideal for securing seams and creating neat, straight lines. | Seaming, topstitching, hemming. |
| Zigzag Stitch | A versatile stitch that creates a zigzag pattern, used for preventing fabric edges from fraying, decorative stitching, and sewing stretch fabrics. | Provides flexibility and stretch, prevents fraying with its interlocking pattern. | Overcasting, appliqué, seam finishing. |
| Satin Stitch | A dense stitch that covers a larger area, creating a smooth and shiny surface, often used for decorative purposes and appliqué work. | Produces a smooth surface with no visible fabric underneath, suitable for decorative applications. | Embroidery, appliqué, decorative edging. |
| Backstitch | A strong and durable stitch created by sewing backward and then forward, commonly used for reinforcing seams and hand-sewn buttonholes. | Provides exceptional strength and stability, ideal for reinforcing seams and areas of high stress. | Seaming, topstitching, buttonholes. |
| Chain Stitch | A looped stitch resembling a chain, created by interlocking loops of thread, commonly used in embroidery and decorative stitching. | Offers flexibility and elasticity, suitable for creating textured designs and decorative accents. | Embroidery, decorative seams, smocking. |
| Blanket Stitch | A decorative stitch featuring loops along the edge of the fabric, often used for edging and finishing raw edges, as well as for embellishment. | Creates a secure and decorative edge, suitable for finishing raw edges and adding embellishments. | Edge finishing, appliqué, decorative edging. |
| Lockstitch | A stitch formed by interlocking the upper thread with the lower thread from the bobbin, creating a tight and secure seam. | Durable, strong, suitable for various fabrics, produces straight stitch lines. | Seams, topstitching, finishing edges, quilting, garment construction. |
| Overlock Stitch | A specialized stitch that simultaneously sews, trims, and finishes the fabric edges, preventing fraying and providing a neat finish, commonly used in garment construction and serging. | Secures raw edges and prevents fraying, produces a professional-looking finish. | Seaming, edge finishing, serging. |
| Blind Hem Stitch | A nearly invisible stitch used for hemming garments, where the stitches are hidden within the folded fabric edge, creating a clean finish on the right side of the fabric. | Creates a nearly invisible hem, suitable for hemming without visible stitches on the right side of the fabric. | Hemming, finishing edges. |
Stepper Foot
A stepper foot, also known as a presser foot, is an essential component of sewing machines that helps control the fabric and stitching during the sewing process. It is attached to the machine's presser bar and can be raised or lowered to apply pressure on the fabric as it moves through the machine. The feed dogs, located beneath the presser foot, are small metal teeth that move the fabric forward with each stitch, ensuring smooth and even fabric feeding.
| Stepper Foot Type | Description | Process/Application | End Results | Rough Price Range |
|---|---|---|---|---|
| Standard Stepper Foot | Used for general sewing tasks and most fabric types, including woven and knit fabrics. | General sewing, stitching seams, topstitching. | Neat and straight seams, professional finish. | $5 - $15 |
| Zipper Foot | Designed with a narrow profile to sew close to zipper teeth, making it easier to insert zippers neatly into garments and accessories. | Inserting zippers, sewing along zipper teeth. | Precise zipper insertion, neat and even stitching. | $5 - $20 |
| Buttonhole Foot | Features a sliding mechanism to create buttonholes of various sizes, providing precise and consistent results. | Creating buttonholes of different sizes and shapes. | Uniform and well-defined buttonholes. | $10 - $30 |
| Walking Foot | Equipped with feed dogs on the top of the foot to help feed multiple layers of fabric evenly, ideal for quilting, sewing bulky fabrics, and working with slippery or difficult-to-feed materials. | Quilting, sewing multiple layers of fabric, working with difficult fabrics. | Even feeding of fabric layers, reduced puckering, professional finish. | $15 - $40 |
| Blind Hem Foot | Designed to create invisible hems by folding and stitching fabric edges neatly, often used for hemming garments and curtains. | Creating invisible hems, hemming garments. | Invisible hemming, clean and professional finish. | $5 - $20 |
| Overlock Foot | Used with overlock or serger machines to finish fabric edges and seams, preventing fraying and providing a professional-looking edge. | Finishing fabric edges, sewing stretch fabrics. | Neat and professional edge finishing, prevents fraying. | $10 - $30 |
Anatomy of Sewing and Embroidery Needles
| Part | Description (Sewing Needle) | Description (Embroidery Needle) |
|---|---|---|
| Point | The tip of the needle, which pierces the fabric. | The tip is typically sharper than sewing needles to penetrate embroidery fabrics and stabilizers more effectively. |
| Shaft | The body of the needle, which determines the needle's size and thickness. | The shaft may have a larger eye than sewing needles to accommodate specialty embroidery threads. |
| Eye | The hole at the top of the needle through which the thread passes. | The eye may be enlarged or elongated to accommodate thicker embroidery threads. |
| Scarf | The indentation on the back of the needle above the eye. It allows the bobbin hook to smoothly catch the thread loop during stitching. | The scarf is especially important for high-speed embroidery machines, ensuring smooth thread flow. |
| Groove | A small channel on the front of the needle that helps guide the thread into the eye. | The groove may be deeper than sewing needles to prevent thread breakage during high-speed embroidery. |
| Shoulder | The part of the needle where the shaft meets the shank. It provides stability and prevents the needle from slipping during sewing. | The shoulder provides stability during high-speed embroidery, ensuring precise needle placement. |
Needles for Sewing Machines
Choosing the right needle for your sewing project is crucial for achieving optimal results. Needles come in various types and sizes, each designed for specific fabrics and sewing techniques. Understanding the parameters and considerations when selecting needles can help you achieve professional-looking seams and finishes.
| Parameter | Description | Considerations |
|---|---|---|
| Needle Type | Determines the needle's intended use, such as universal, ballpoint, denim, quilting, embroidery, etc. | Choose a needle type based on the fabric type and sewing technique. For example, use a ballpoint needle for knit fabrics to prevent snagging or a denim needle for heavy-duty fabrics like denim or canvas. |
| Needle Size | Indicates the diameter and length of the needle, with larger numbers indicating thicker needles. | Select the needle size based on the fabric weight and thickness. Thinner needles are suitable for lightweight fabrics, while thicker needles are ideal for heavy fabrics. |
| Needle Point | Refers to the shape of the needle's point, such as sharp, ballpoint, or wedge. | Choose a needle point that corresponds to the fabric type and sewing technique. For example, use a sharp needle for woven fabrics and a ballpoint needle for knit fabrics. |
| Needle Eye | Specifies the size and shape of the needle's eye, which affects thread compatibility. | Ensure that the needle eye is large enough to accommodate the thread size and type. For specialty threads like metallic or monofilament, choose needles with larger eyes to prevent thread breakage. |
| Needle Coating | Some needles feature special coatings or finishes to reduce friction and prevent skipped stitches. | Consider needles with coatings like titanium or chrome for smoother stitching and improved durability. |
| Needle Brand | Various brands offer needles with different quality levels and features. | Choose reputable needle brands known for their quality and reliability to ensure consistent performance and durability. |
Anatomy of Sewing and Embroidery Machines
| Part | Description (Sewing Machine) | Description (Embroidery Machine) |
|---|---|---|
| Needle | The component that pierces the fabric to form stitches. | The needle may be specialized for embroidery, with a larger eye and scarf to accommodate embroidery threads. |
| Presser Foot | The foot that holds the fabric in place and applies pressure for smooth stitching. | May have specialized presser feet for different types of embroidery techniques, such as free-motion embroidery or appliqué. |
| Feed Dogs | Small metal teeth that move the fabric forward with each stitch. | Feed dogs are typically engaged during sewing, but may be lowered or covered during embroidery to allow for free-motion movement. |
| Bobbin | The small spool that holds the lower thread. | Embroidery machines may use specialized bobbins with more thread capacity for longer embroidery designs. |
| Stitch Selection | Allows the user to choose from various stitch patterns and lengths. | May have additional stitch selections for decorative embroidery stitches, as well as options for resizing and rotating embroidery designs. |
| Embroidery Unit | N/A | The component that attaches to the sewing machine to enable embroidery functionality. It includes the hoop, hoop holder, and embroidery arm. |
| LCD Display | Displays stitch settings, stitch patterns, and other machine functions. | May have additional features such as touchscreen capabilities for easier design selection and editing. |
| Tension Control | Adjusts the tension of the upper thread for balanced stitches. | May have separate tension adjustments for embroidery threads to accommodate different thread types and weights. |
| Thread Cutter | A built-in cutter for trimming thread after stitching. | May have additional thread cutting options, such as automatic jump stitch trimming during embroidery. |
| Hoops | N/A | Specialized frames used to hold the fabric taut during embroidery. Available in various sizes for different embroidery designs. |
Types of Stabilizers for Digital Embroidery
| Type | Description | Parameters | Considerations |
|---|---|---|---|
| Cut-Away Stabilizer | A stabilizer that remains permanently attached to the fabric after embroidery. It provides strong support and prevents fabric stretching or distortion. | Weight: Varies from lightweight to heavy-duty Tear Strength: High Composition: Polyester, cotton, or blends |
Ideal for stable fabrics and intricate designs that require maximum support. Choose the appropriate weight based on the fabric type and design complexity. |
| Tear-Away Stabilizer | A stabilizer that is easily removed by tearing away excess material after embroidery. It provides temporary support during stitching and is suitable for delicate fabrics. | Weight: Varies from lightweight to medium Tear Strength: Medium Composition: Paper, non-woven fabric |
Best for lightweight and delicate fabrics that do not require long-term stability. Select a weight that provides enough support without causing damage to the fabric during removal. |
| Water-Soluble Stabilizer (Solvy) | A stabilizer that dissolves in water after embroidery, leaving no residue behind. It is used for lace, freestanding embroidery, and designs with high stitch counts. | Thickness: Thin to medium Solubility: Completely dissolvable in water Composition: PVA (polyvinyl alcohol) |
Great for creating standalone embroidery designs or for embroidering on delicate fabrics where residual stabilizer may be visible. Ensure proper coverage and thickness for stability during stitching. |
| Heat-Away Stabilizer | A stabilizer that disappears with the application of heat, leaving no trace behind. It is suitable for fabrics that cannot tolerate moisture. | Activation Temperature: Varies depending on the brand and type Composition: Polyvinyl acetate (PVA) film |
Useful for fabrics sensitive to water or for designs requiring a clean finish without any stabilizer residue. Follow manufacturer's instructions for proper heat activation and removal. |
| Adhesive Backed Stabilizer | A stabilizer with an adhesive backing that adheres to the fabric during stitching and can be easily removed after embroidery. It provides stability and prevents shifting of the fabric. | Adhesive Type: Permanent or temporary Composition: Non-woven fabric with adhesive coating |
Convenient for securing slippery or stretchy fabrics in place during embroidery. Choose between permanent or temporary adhesive depending on the desired application. |
Tips for Digitizing Embroidery Designs
| Tip | Description | Examples | Recommended Stitch Types | Stitch Settings |
|---|---|---|---|---|
| Start with High-Quality Artwork | Begin with clean, high-resolution artwork as the basis for your embroidery design. This will ensure clarity and detail in the final stitched design. | Vector illustrations, high-resolution photographs | Satin stitch for fine details, fill stitch for larger areas | Satin stitch: Density - 5 to 7 mm, Underlay - Zigzag |
| Simplify Complex Designs | Simplify complex artwork by reducing the number of colors and details. Remember that embroidery machines have limitations in reproducing intricate details. | Logo designs, intricate illustrations | Running stitch for outlines, fewer colors for smoother stitching | Running stitch: Density - 2 to 3 mm, Underlay - Straight |
| Understand Stitch Types | Familiarize yourself with different types of embroidery stitches, such as satin stitches, fill stitches, and running stitches. Choose the appropriate stitch type for each element of your design. | Satin stitch, fill stitch, running stitch | Satin stitch for text and fine details, fill stitch for solid areas, running stitch for outlines | Satin stitch: Density - 5 to 7 mm, Underlay - Zigzag Fill stitch: Density - 8 to 10 mm, Underlay - Grid Running stitch: Density - 2 to 3 mm, Underlay - Straight |
| Consider Fabric and Size | Take into account the type of fabric and the size of the design when digitizing. Adjust stitch density and underlay accordingly to ensure optimal results on different fabrics and sizes. | Cotton, denim, knits, hats, towels | Lighter fabrics: Use lighter density and lighter underlay Heavier fabrics: Use higher density and heavier underlay |
Lighter fabrics: Satin stitch: Density - 5 to 6 mm, Underlay - Zigzag Heavier fabrics: Satin stitch: Density - 6 to 7 mm, Underlay - Zigzag |
| Use Proper Digitizing Software | Invest in quality digitizing software that offers advanced features and customization options. This will give you more control over the digitizing process and produce better results. | Wilcom EmbroideryStudio, Pulse Embroidery Software, Hatch Embroidery | Varies based on software capabilities | Varies based on software capabilities |
| Test and Adjust | Always test your digitized designs on similar fabric and garments before full production. Make adjustments as needed to ensure proper tension, density, and overall quality. | Sample fabric swatches, test garments | Perform stitch-out tests on various materials | Adjust stitch density, underlay, and tension settings based on test results |
| Optimize for Machine Efficiency | Optimize your designs for machine efficiency by minimizing jump stitches, reducing unnecessary trims, and organizing color changes strategically. | Designs with minimal trims, efficient color sequencing | Use tie-off stitches instead of trims, minimize jump stitches between elements | Enable automatic trimming and tie-off functions in the embroidery machine settings |
| Document Your Process | Keep detailed records of your digitizing process, including settings, adjustments, and test results. This documentation will help you replicate successful designs and troubleshoot any issues that arise. | Digital design files, production logs | N/A | Document stitch settings, fabric types, and any adjustments made during the digitizing process |
| Stay Updated | Keep up with the latest trends, techniques, and software updates in the embroidery industry. Continuous learning and experimentation will improve your digitizing skills over time. | Industry publications, online forums, workshops | N/A | Regularly participate in training programs and workshops to learn new techniques and software features |
Digitalizing for Embroidery with Ink/Stitch
Digitalizing artwork for embroidery using Ink/Stitch involves converting vector designs into stitch files. This section explores the steps and crucial parameters within Ink/Stitch, providing insights into achieving optimal embroidery results.
| Step | Parameters and Optimization | Consequences of Parameter Choices |
|---|---|---|
| 1. Preparing the Design in Inkscape | Ensure designs are vectorized and paths are clean. Use broad strokes for satin stitches and fills for dense areas. | Complex paths can lead to inefficient stitching and thread breakage. Simplified designs ensure smoother embroidery execution. |
| 2. Setting Stitch Types | Choose between running, satin, or fill stitches based on the design element. Adjust stitch length and density accordingly. | Incorrect stitch types can affect the appearance and durability of the embroidery. Overly dense stitches may cause fabric puckering. |
| 3. Adjusting Stitch Parameters | Parameters like stitch length, density, and underlay settings need to be optimized based on fabric type and design complexity. | Too long stitch lengths can lead to loose embroidery, while too short can increase density, leading to stiff patches and potential needle or thread breakage. |
| 4. Adding Underlay Stitches | Underlay provides a foundation for top stitches. Options include center walk, edge run, or zigzag underlay for different effects. | Lack of underlay can result in unstable stitches that don't adhere well to the fabric, affecting the embroidery's longevity and appearance. |
| 5. Optimizing Thread Trims and Jump Stitches | Minimize jump stitches and use thread trims sparingly to reduce the chance of thread tangling and to improve finish quality. | Excessive jump stitches can lead to thread nesting on the back of the embroidery, while too many trims can slow down the embroidery process and increase wear on the machine. |
| 6. Color Changes | Plan for efficient color changes to minimize machine stops. Sequence design elements to optimize stitching paths. | Improper planning of color changes can significantly extend embroidery time and affect the final product's aesthetic coherence. |
| 7. Finalizing the Design | Review design in 3D preview. Adjust any final parameters and ensure the design fits within your hoop size. | A design that exceeds the hoop size or is improperly centered can result in incomplete embroidery or the need to restart the project. |
| 8. Exporting the File | Export the design in a format compatible with your embroidery machine (e.g., PES, DST). | Choosing the wrong file format can result in an unrecognizable design file for your machine, leading to project delays. |
By carefully following these steps and adjusting Ink/Stitch parameters as recommended, you can create embroidery designs that are both beautiful and machine-friendly. Understanding the implications of your parameter choices helps in avoiding common pitfalls in embroidery digitalization, ensuring a smooth transition from design to stitched product.